Use Smart Albums in Apple Photos to organize your photos
Posted on
by
Kirk McElhearn

If you have lots of photos, Apple’s Photos app on the Mac is a great way to organize and edit them. You can view your photos in many ways: by date, location, and you can even view all the photos of specific people. The Photos app even creates special "memories" for you, of photos from specific places, with your favorite people, days when you’ve taken a lot of photos, or even the best photos of your pets. But the Photos app does this all automatically, with an algorithm; you have no control over when or how these memories are created.
You can also organize your photos in albums. An album is like a playlist in iTunes or the Music app: you choose what it contains, and you can view the photos, watch a slide show, use your selection to make a book, and more. Smart albums, like smart playlists in the Music app, allow you to choose photos by conditions, such as the date they were taken, their location, people they contain, any keywords or titles you’ve assigned to the photos, which camera you used, which lens, and more.
In this article, I’m going to tell you how you can create smart albums, and why you may want to use them.
Creating albums in the Photos app
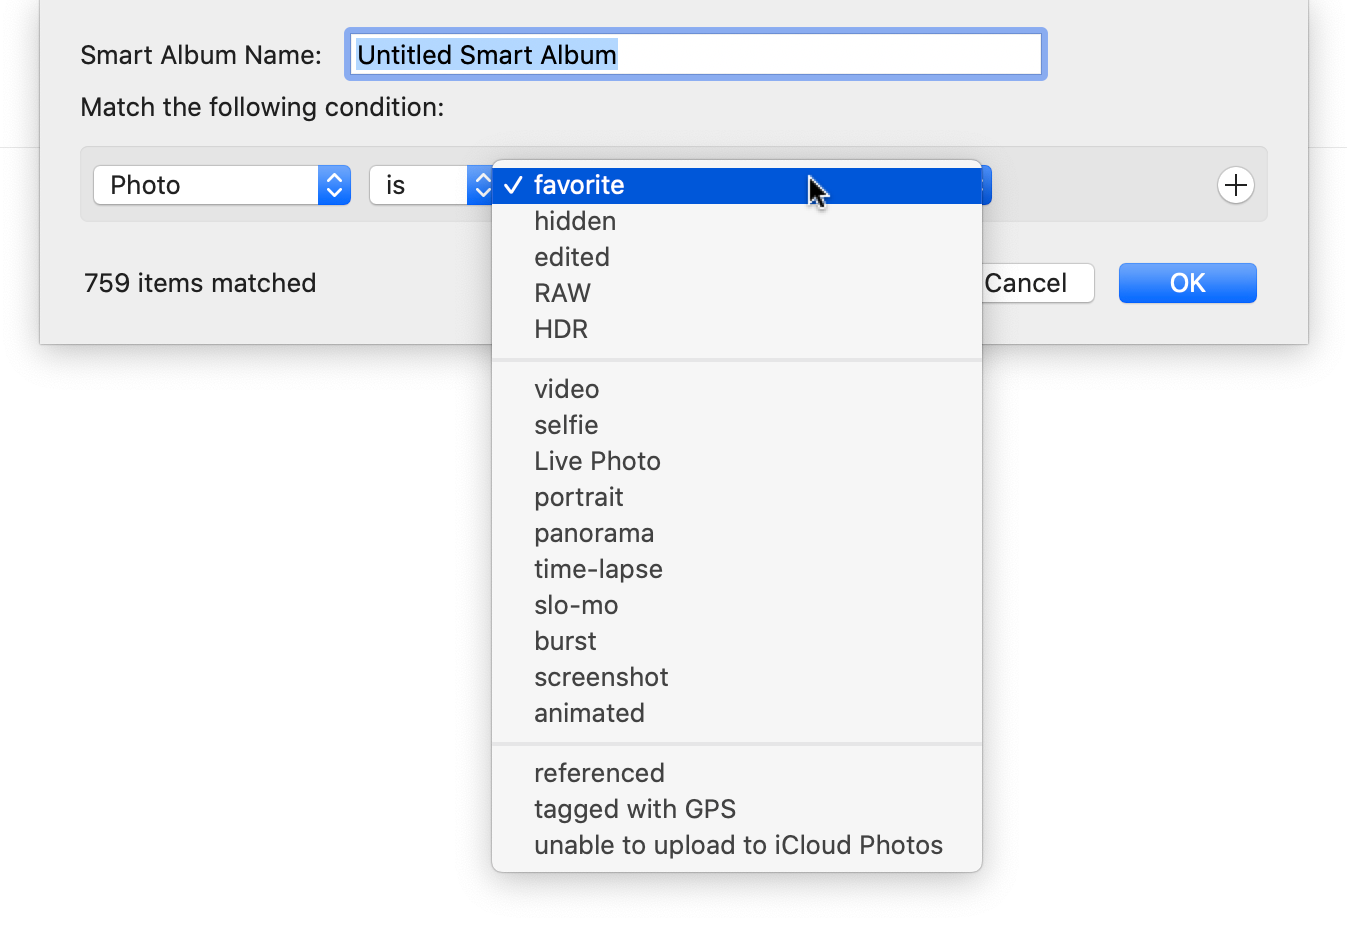
To create a new album, choose File > New Album. You can drag photos to this album, as you would drag songs to a playlist in the Music app. To create a smart album, choose File > New Smart Album; a dialog displays:

By default, the new smart album starts with the condition photo is favorite; this album will collect all the photos that you have marked as favorites. This isn’t really useful, since you can already access your favorites in the sidebar, near the top in the Library section.
You can change the condition to help match the photos you want. Click the third menu, for example, to see the options that you can choose with the conditions photo is:

If you have the types of content shown in the menu – videos, selfies, live photos, portrait mode photos, etc. – ou’ll find that photos that match some of these options are already grouped in the sidebar, under Albums > Media Types.
But there are other conditions that may be useful, such as whether a photo has been edited or hidden; whether it’s a RAW file or an HDR photo; and whether it has location information (Tagged with GPS).
Note: One thing to remember about albums in the Photos app is that if you sync your library to the cloud, only regular albums display on your iPhone or iPad; smart albums only display on the Mac.
Smart albums for your vacations
Photos will probably display memories for your vacations, but you can use smart albums to group all photos from a specific location and/or time. Say you go to a beach house every year; you can create a smart album to group all the photos from there, but you need to use a workaround.
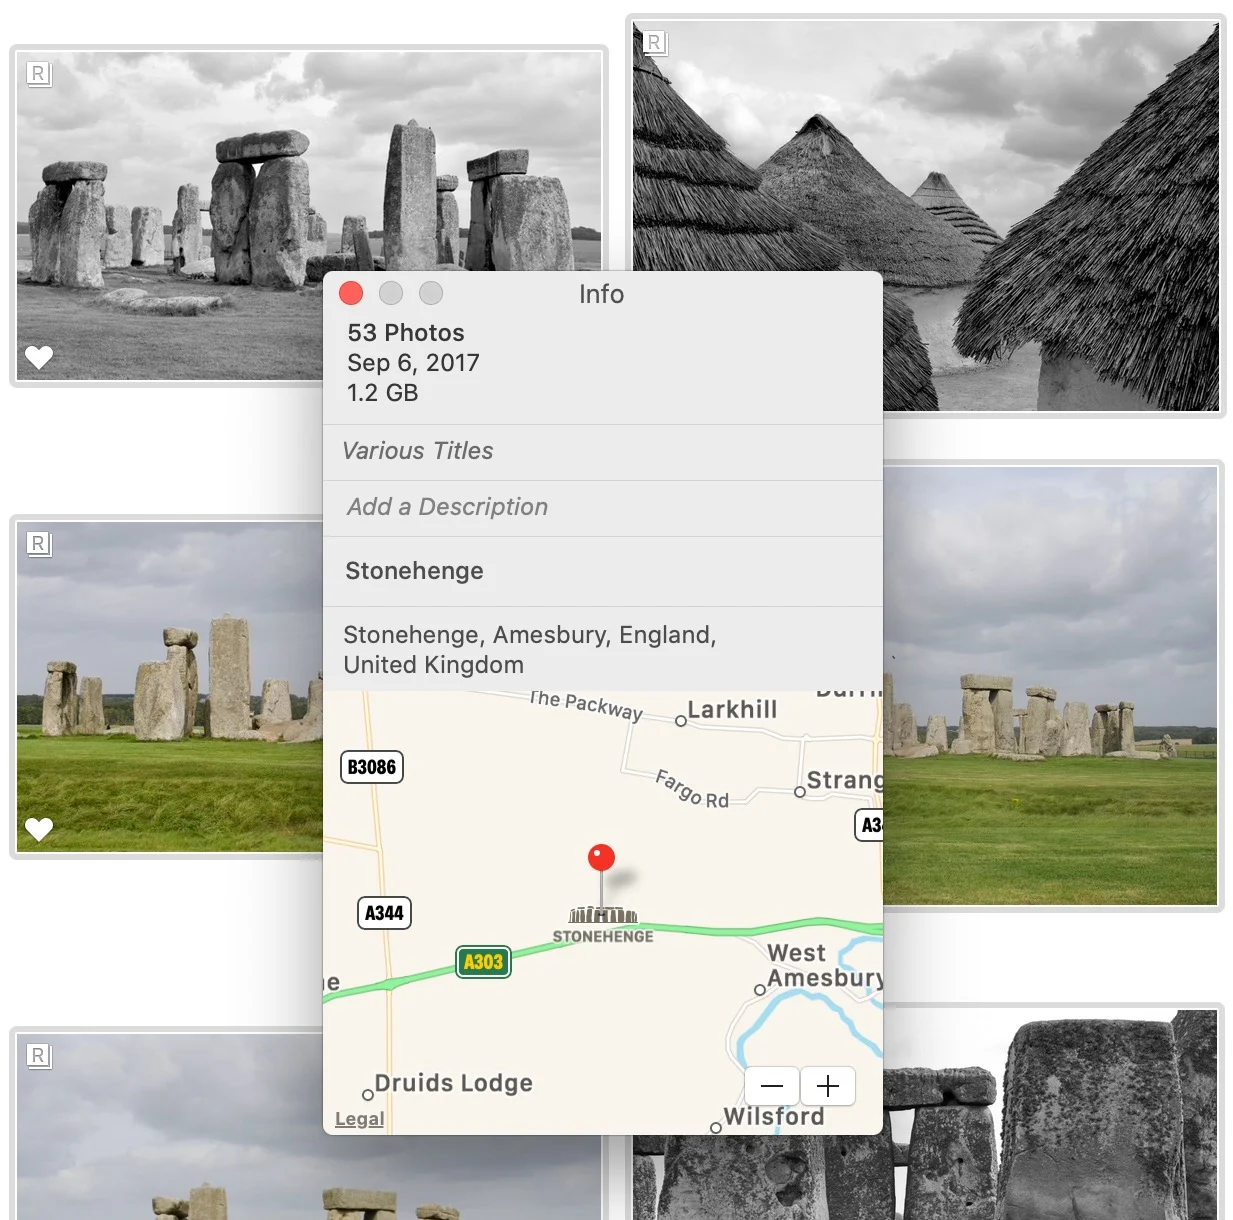
Smart albums can’t group photos by location, but they can group photos by keyword. Go to Places in the Photos sidebar, and find your location on the map. Click it, and you’ll see all the photos from that location. (This only works if you have shot with a camera that records GPS coordinates, such as an iPhone, or have added them later.)
Select all the photos, then click the Inspector button or press Command-I. In the Keyword section, enter a name for the location.

Create a new smart album, and chose the condition keyword is, then click the third menu and choose the keyword you’ve just applied. (The menu shows all the keywords applied to photos in your library.) Click OK, and the album will be saved.
Create smart albums with multiple conditions
As you can see in the screenshots above, after the line in the smart album dialog where you choose conditions, there is a + button. Click this to add a second condition. Here’s one example:

This smart album collects all the photos with the person Titus (actually, he’s a cat), and also those photos that I’ve marked as favorites.
Another option could be all the photos of a specific person where the date captured is in a range, covering a month or a year; or where the photo was shot in portrait mode; or where it’s a video.
Create smart albums by camera and lens
If you’re a serious photographer, you probably have had a number of cameras over the years, and you may have a lot of lenses. It’s very practical to be able to create smart albums by camera model, so you can look back on what you shot with each one. In many cases, you’ll remember that you took certain photos with a specific camera, and this can be a way of finding them. And since an iPhone is technically a camera, you can also isolate photos you’ve taken with different iPhone models.
This works because photos contain EXIF data, a type of metadata about photographs, which includes information such as the camera and lens, the date and time a photo was shot, its exposure, aperture, ISO, and much more.
Create a smart album with the condition Camera Model is, and you’ll see a text field. You can start typing the name of a camera to narrow down your options – Photos will auto-complete what you type according to what’s in its database – or click the down-pointing arrow to see all the camera models in your photos. You may find that there are a lot of camera models in your list, especially if you have added photos taken by friends or family.

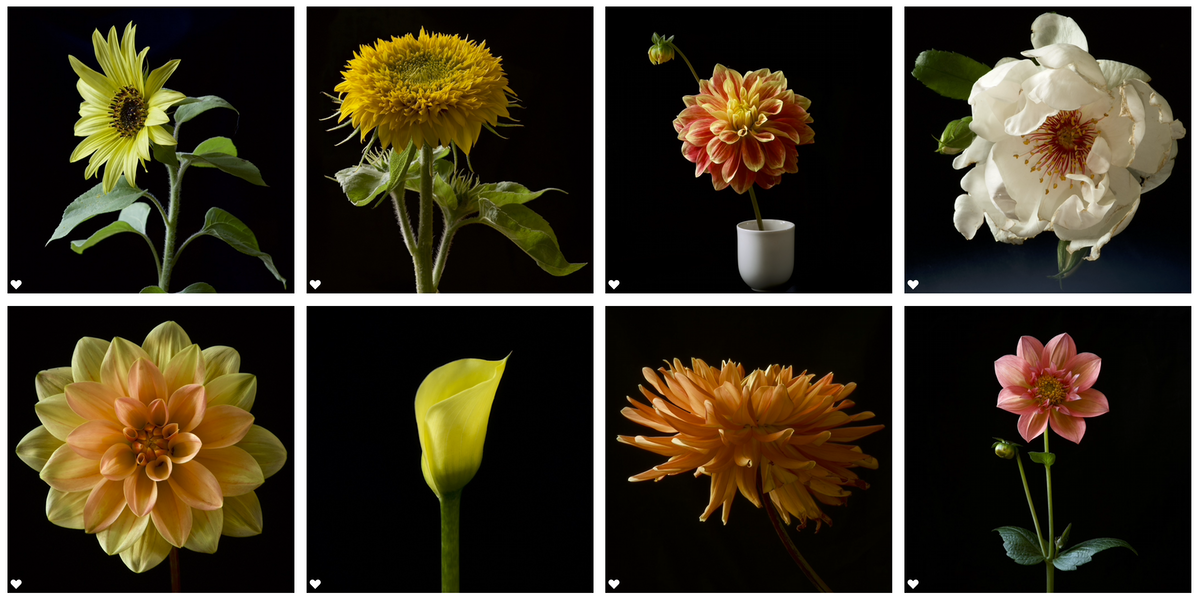
If you use multiple lenses, you may want to create a smart album for each lens; this tells you how often you use each lens, and can remind you that, perhaps, you didn’t really need to buy that lens last year… I like to shoot photos of flowers with a macro lens; a click on a smart album for that lens brings up all the photos I’ve shot with it.

Create smart albums using other EXIF data
You saw above that EXIF data includes the name of your camera, lens, and much more. You can use this data to create smart albums with conditions such as shutter speed, aperture, ISO, or whether the photo was taken with a flash. If you’re a serious photographer with a big library, this type of smart album can help you get an overview of how you shoot, and show you the results of using different combinations of settings in your photography.
From the first menu, choose a condition such as Aperture, ISO, or Shutter Speed, then choose an operator, such as is, is not, is greater than or equal to, etc. In the third menu, choose a value, such as 1/250s, or f/2.8. This latter list will only show values from photos in your library, but you can type any amount manually.

Smart albums are easy to use, and they’re a great way to sort your photos, allowing you to create slideshows and books, but also allowing you to look back at photos you may want to edit. Try some out and see if they help you better organize your photo library.