Manage your previous recipients in Apple Mail on macOS
Posted on
by
Kirk McElhearn
Your email client is smart. It keeps track of everyone you send messages to — whether they’re in your contacts or not — so if you ever need to send another email, it can offer to add those addresses via auto-complete. It’s easy to forget complex email addresses, and, as an example, having Mail help you type [email protected] can save you time.
These previous recipients are stored forever, or until you clean them out. While you may have contacted [email protected] several times, if you no longer need to, Apple Mail will still offer that address as an auto-complete suggestion even when you want to write to, say, [email protected].
Because of this, it’s a good idea to clean out your previous recipients from time to time. You may want to delete most of them, but you may also want to add some of them to your contacts. Here’s how to manage your previous recipients in Apple’s Mail.
View Previous Recipients
To view the list of your previous recipients, open Mail, then choose Window > Previous Recipients. A window displays showing all the email addresses you’ve written to since you last cleared this list.
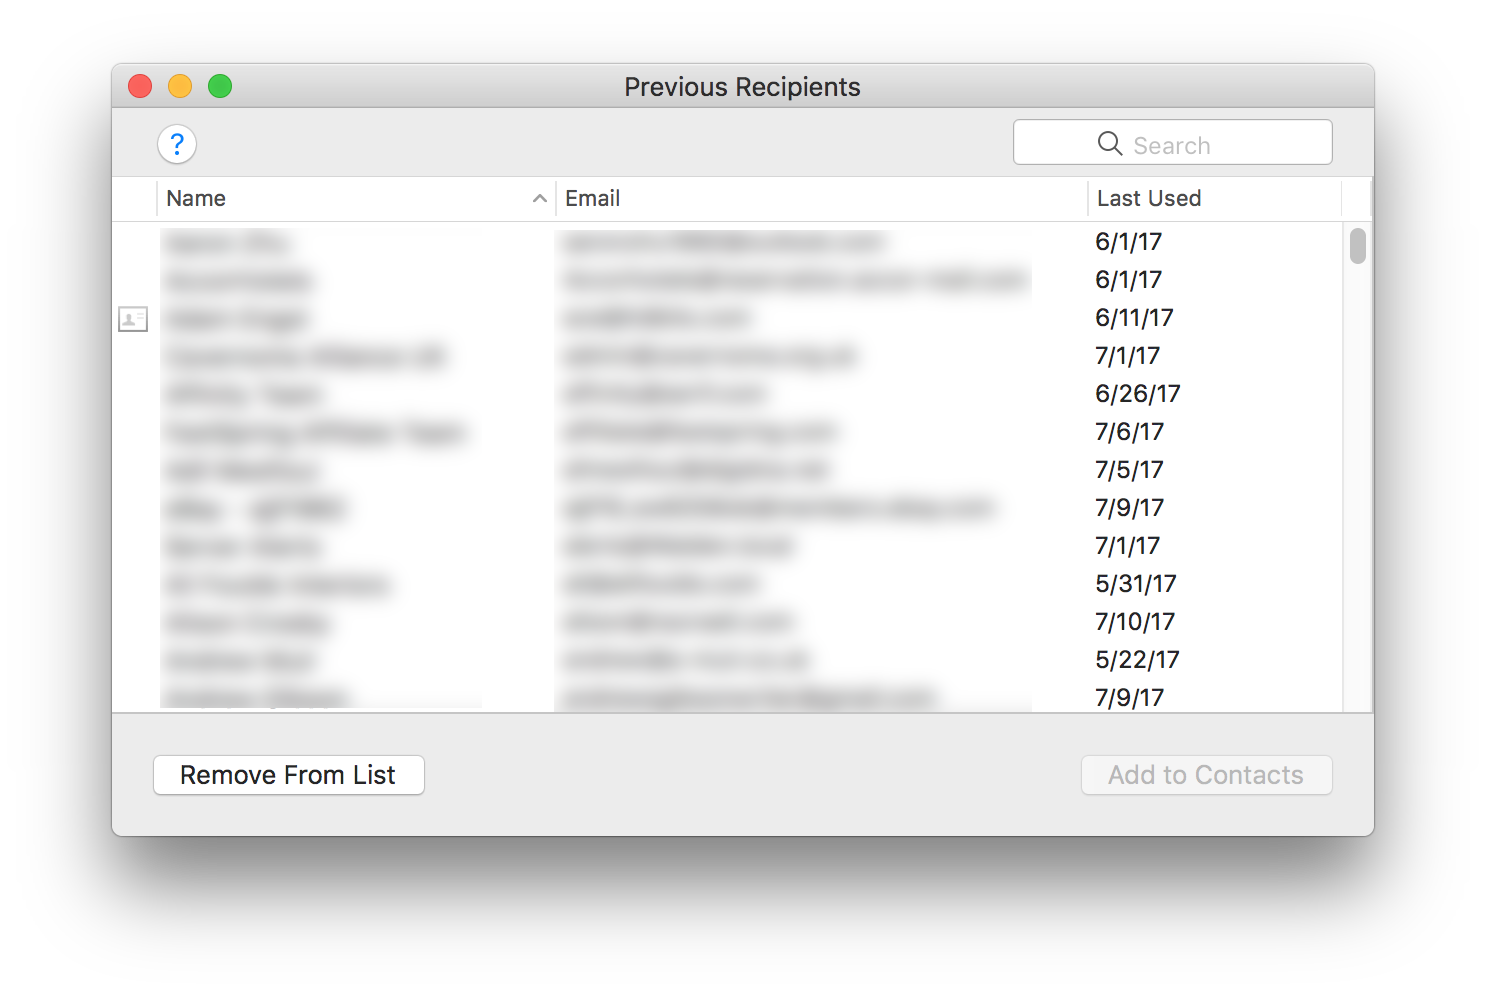
(I’ve blurred my previous recipients; you’ll see actual names and addresses in your window.)
There are three headers: Name, Email, and Last Used. However, there’s also a fourth column, one with no label. Some addresses display a small contact card icon in that column. This icon shows that these recipients are already in your contacts.
Sort and Delete Previous Recipients
To start sorting the previous recipients, the first thing to do is remove all those people who are in your contacts. This doesn’t remove them from your contacts, it just makes this list easier to work with. Click the header above the contact card. If none of the recipients at the top of the list show those icons, click that header again to change the sort order. Select all the lines with contact card icons, and then press Delete.
Next, you can sort by Name or Email, and scroll through the list looking to see if you are still in touch with any of these people, and want to add them to your contacts. To do so, select one or more names, and then click Add to Contacts. You’ll have to manually delete them from the list afterwards.
Scroll through the list a couple dozen names at a time. If you haven’t found any you want to add to your contacts, select those names you’ve scanned and press Delete. Do this until you get to the bottom of the list.
If you often find yourself emailing people who have contacted you recently, but you don’t need them in your contacts, you can sort by Last Used. You might want to simply delete all those you haven’t emailed in, say, six months. Again, select a few lines and press Delete to remove them.
If you do this every few months, you’ll find that composing emails is easier, since Mail won’t suggest as many names and addresses. Note that if you have iOS devices, this information syncs with your iCloud account, so deleting previous recipients on your Mac also makes it easier to write emails on your iPhone or iPad.
Have something to say about this story? Share your comments below!