Install macOS Sequoia Beta in a Virtual Machine on an M1, M2, or M3 Mac with UTM
Posted on
by
Kirk McElhearn
We recently looked at how you can use UTM to run Windows 11 on your M1, M2, or M3 Mac for free. UTM is free, open-source virtualization software, that allows you to run other operating systems on your Mac. In addition to allowing you to run Windows, Linux, and even MacOS 9.2, you can also install macOS Sonoma—and you can even create a virtual machine (VM) running the latest macOS Sequoia beta. Here’s how.
(For another method of installing macOS Ventura beta, check out our related article on creating a new APFS volume for running macOS betas.)
Installing macOS on UTM
Getting started with UTM
In our article How to run Windows 11 for FREE on a Mac with an M1, M2, or M3 chip, we discussed how to download and set up UTM. As we mentioned there, you can download UTM for free from its website. Alternatively, you can purchase it for $10 from the Mac App Store if you’d like to support the developer financially, with the added benefit of automatic app updates.
Before you get started, make sure you have more than 100 GB of free space on your drive, if possible. This will allow enough room to download and install UTM, the macOS version for your VM, with a little wiggle room so you should still be able to download and install security updates for your main macOS installation.
Getting started with UTM
In order to install macOS, click Virtualize on the Start screen (or, if you already have a VM, click “Create a New Virtual Machine,” then Virtualize). Next, click on “macOS 12+” on the Operating System screen.
You’ll be asked to download a “recovery IPSW.” An IPSW file is what Apple uses to provide firmware for iPhones, iPads, and, since the M1 processor, Macs as well. You can obtain IPSW files via the Finder for mobile devices when connecting a device and restoring it; for Macs, you boot in the recovery partition.
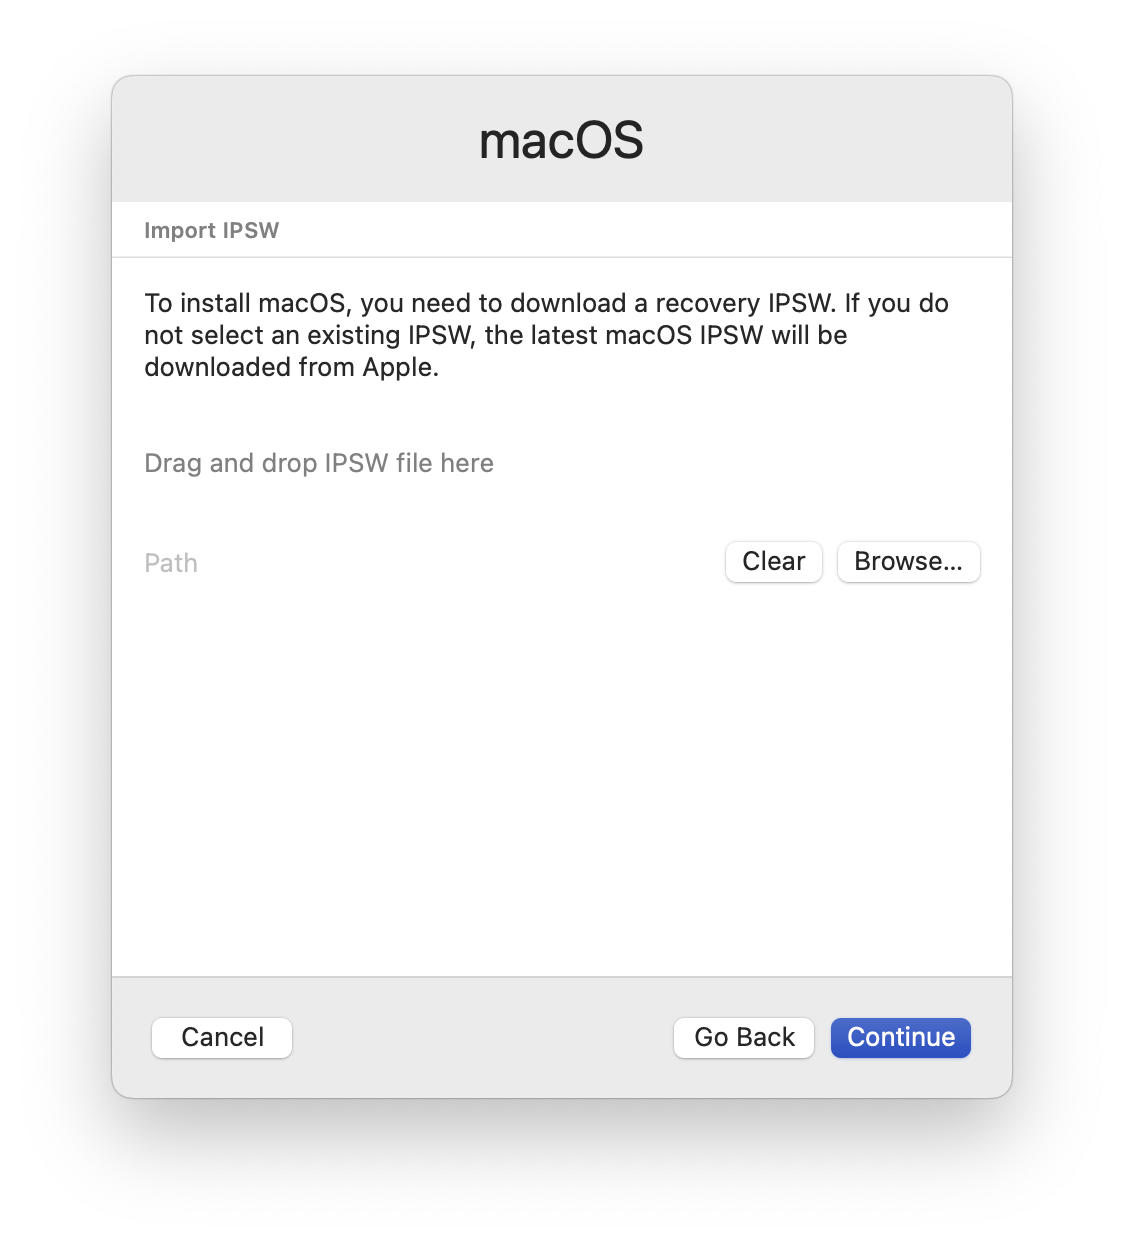
UTM offers to download the necessary IPSW file for your Mac, if you want to download the latest non-beta version of macOS. In my testing, I was not able to complete the installation using this file—and if you’re looking to install a beta, you’ll want to customize this and select the latest beta version anyway. There are several websites that link to Apple’s IPSW files; we recommend Mr. Macintosh. On this site, you can find the appropriate IPSW file for your M1/M2/M3 Mac and download it. Most macOS IPSW files are “Universal” and will work on all Mac models that Apple currently supports, unless otherwise specified on the page. The IPSW file will be quite large, more than 15 GB.
Click Browse, select the file, then click Continue.
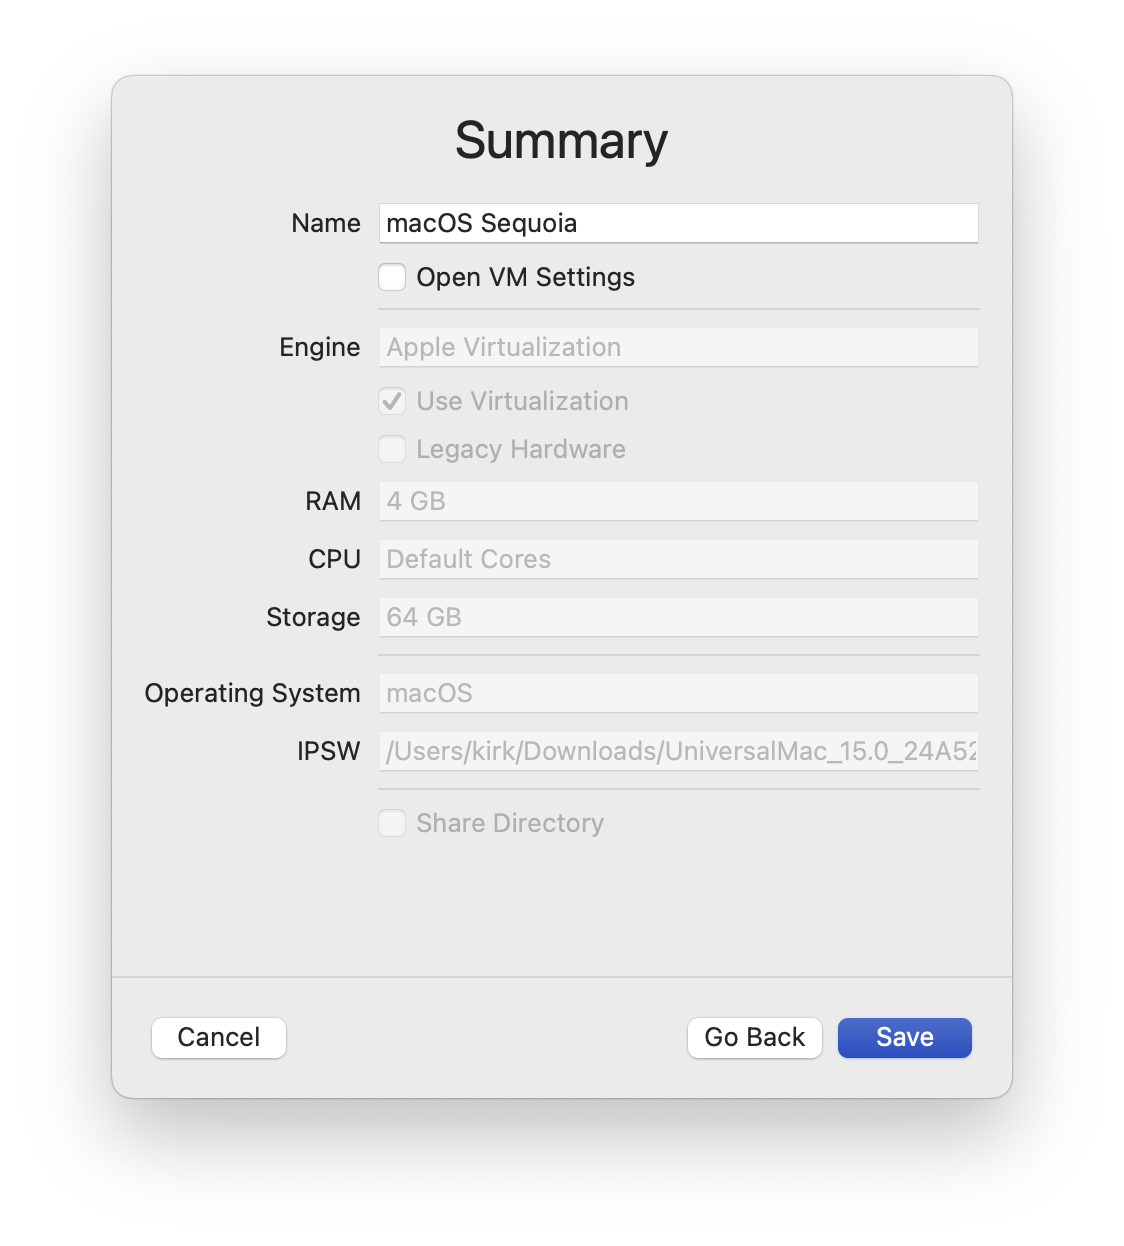
The next two screens ask you to choose hardware and storage settings. You can probably leave the Memory and CPU settings at the defaults; it offered 4096 MB (4 GB) for the RAM, and CPU Cores was set to “Default.” Although the default doesn’t specify the number of cores, within the VM, it sees four cores.
Officially, macOS Sequoia isn’t compatible with any Macs that ship with less than 8 GB of RAM. However, the default 4 GB of RAM does seem to be an acceptable baseline for the VM (as long as you’re not doing anything too RAM-intensive).
Selecting the optimal amount of storage for your needs
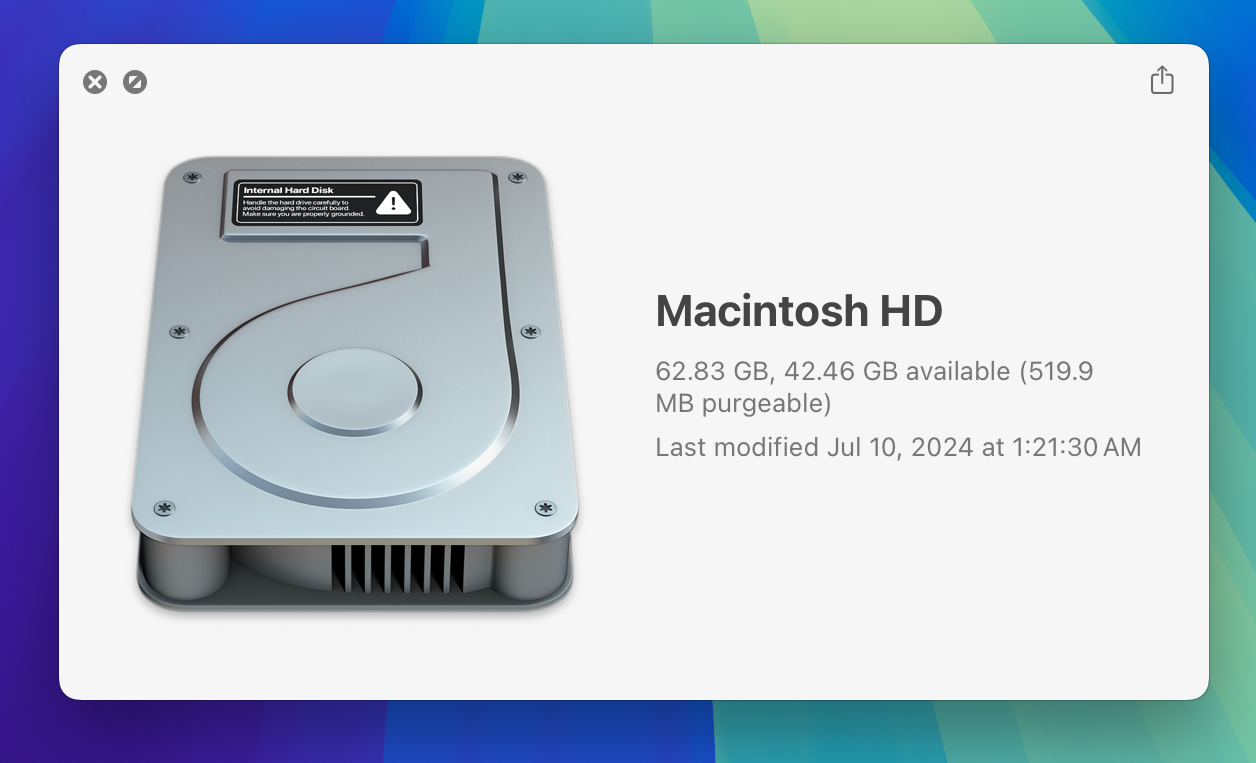
Regarding the storage size of the macOS virtual machine, I used the default 64 GB, and installation went smoothly, though the virtual machine showed about 40 GB free space. (In UTM, and on my Mac, this 64 GB virtual machine shows as 68.75 GB.)
However, this 64 GB default size can be problematic if you don’t have much storage on your Mac (e.g. if you only have around 100 GB of free space before getting started with the whole process).
You can try using less storage for your virtual machine; in our limited testing, we found that 40 GB of storage seems to be an acceptable bare minimum if you’re not installing any third-party apps whatsoever (including Apple’s command-line developer tools). However, you most likely won’t have enough free space for future macOS updates within that VM.
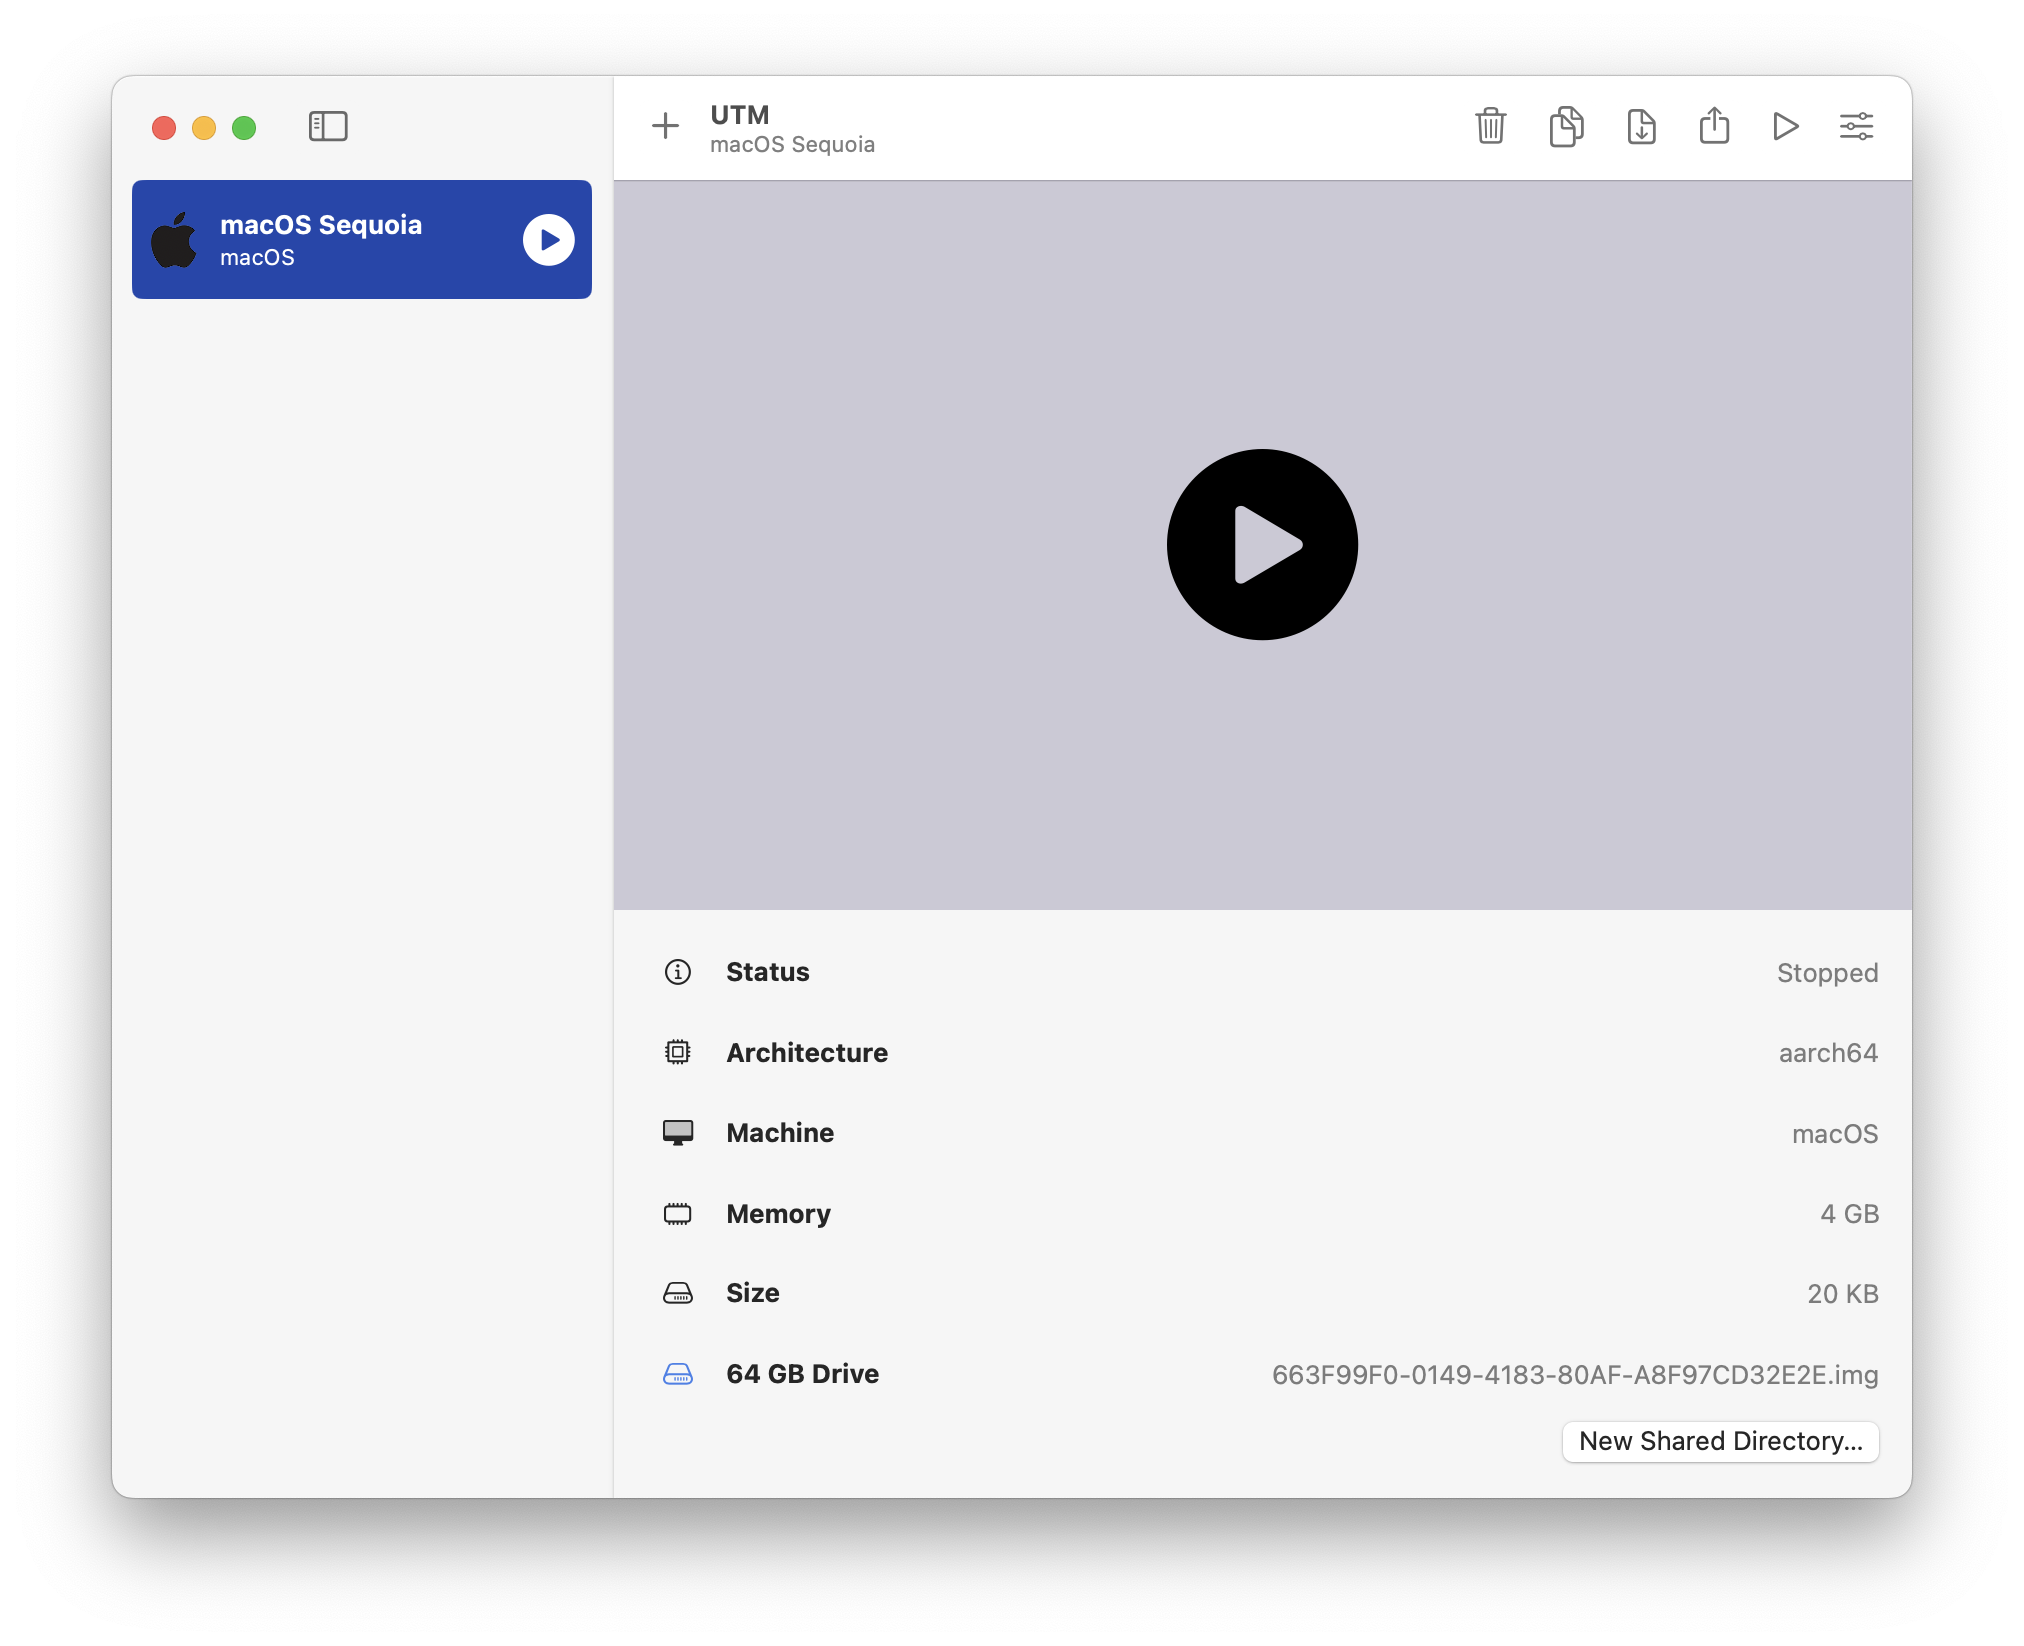
Next, you’ll see the Summary screen; name your virtual machine, then click Save.
The next screen shows you a list of your virtual machines; click the big circled-triangle icon (i.e. the “play button”) on the one you just created, and macOS will start the installation process.
UTM will put up a “Confirmation” dialog box and ask, “Would you like to install macOS?” Click OK. It will then proceed to load the recovery IPSW and install the software; this will take a while.
If you encounter additional prompts and error messages
You may see a request for a software update, which is required to complete the installation. If so, you will need to download a beta version of Apple’s Xcode developer tools, which you can obtain here. You’ll have to sign in with your Apple ID, but you don’t need a developer account to obtain this beta.
Unzip the Xcode beta archive, then right-click the installer and choose Show Package Contents. Navigate to /Xcode-beta.app/Contents/Resources/Packages/MobileDevice.pkg, then double click MobileDevice.pkg and install this software. Return to UTM and start the process over, by clicking the big arrow. The installation will now proceed, and the top of the UTM window will show its progress as a percentage.
Note: Some VPNs or other security software may interfere with the installation. If so, the installation percentage will never go past 0%, and you’ll get a dialog box that says, “Error: An error occurred during installation. Installation failed.” If this happens, first try temporarily disabling your VPN, and try the “play button” again. If that doesn’t resolve the problem, try temporarily disabling any other third-party security software (e.g. firewall, antivirus, etc.) that you might have installed. Don’t forget to reenable protection after the macOS installation within the VM has completed.
Getting started setting up macOS within your VM
Once this has completed, you see the same onboarding process that you see when you install macOS or set up a new Mac. Choose a region and language, and all the other settings you are asked to specify. You’ll run into a problem, however, when you are asked to enter your Apple ID and password. You’ll get an error message saying, “The action could not be completed.” Apple has said that this will be possible in the future, running macOS Sequoia as the host machine with a macOS virtual machine. But for now, you’re limited to not being able to sign in to your Apple ID.
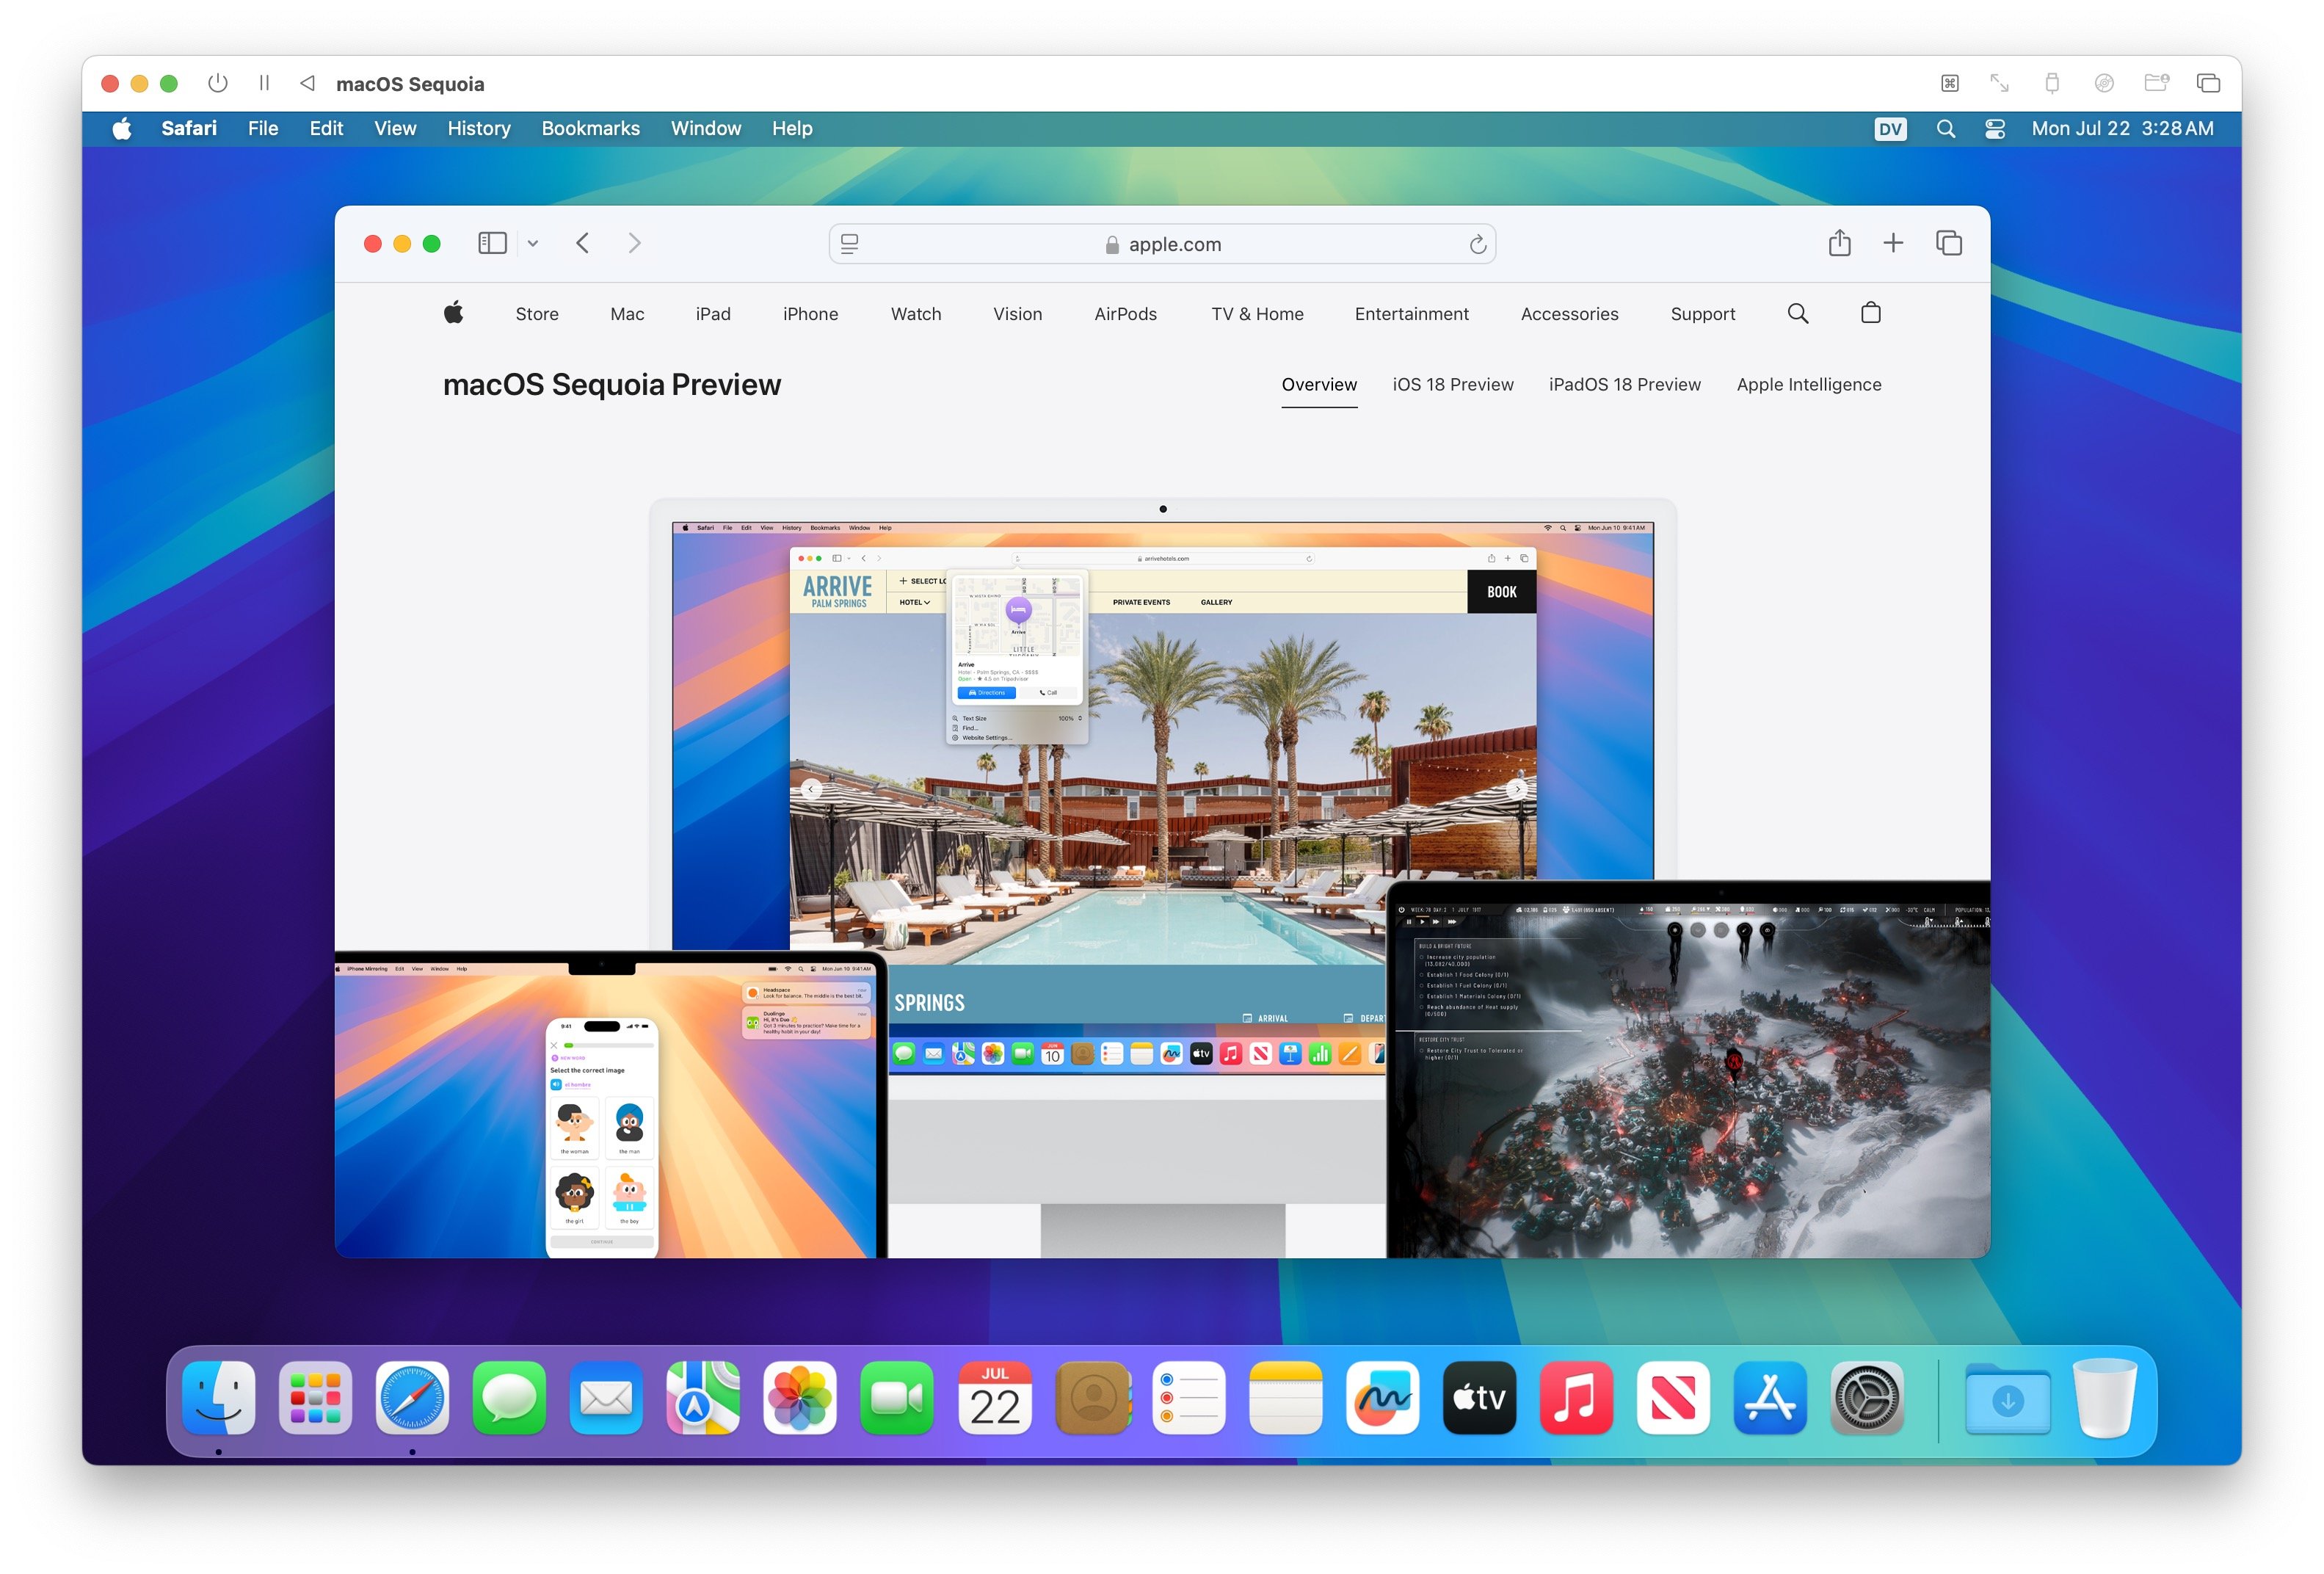
Choose “Set Up Later” on the Apple ID screen, and finish the onboarding. When this is completed, macOS Sequoia will start up in UTM.
Changing the resolution (window size) of your VM
You’ll note that, by default, UTM displays macOS in a 1920 x 1200 resolution. You can change this in the settings for the virtual machine, but you have to shut to down first. In the UTM window, click the button at the right of the toolbar to open the settings, then click Display in the sidebar. You can choose the resolution of the virtual machine from a long list of sizes, many of which match specific Mac models, and are shown as such in a list. Changes apply the next time you launch the virtual machine.

You may also want to check out the other settings for UTM, which you can access at any time when a virtual machine is not running. You may especially want to increase the amount of RAM that UTM uses, if you plan to do a lot with your macOS Sequoia beta.
Using macOS on UTM
While macOS runs smoothly on UTM — it is virtualization, not emulation, so it is nearly as fast as if it were running natively — there are limitations. Unfortunately, you cannot currently authenticate with your Apple ID in System Preferences, so you cannot use any of your iCloud data, such as contacts, calendars, or even your Apple Music or Apple TV+ subscriptions.
You can access the host Mac when in UTM by clicking Network, then connecting to that Mac using your username and password. This works like standard macOS networking, and this allows you to transfer files to and from the virtual machine.
There are no problems logging into websites with your Apple ID. However, since you cannot sign in to apps with your Apple ID, you can’t download any software from the Mac App Store. This means that your use of macOS in virtualization is quite limited. For many people who want to test different versions of macOS and try out betas, this may not be a problem. But if you are a developer hoping to use this to test an app that needs to access iCloud, you’re out of luck.
UTM vs. APFS volume for running macOS betas
While running macOS betas in a VM isn’t a perfect solution, it may be useful for some people who want to test betas, or, going forward, run several versions of macOS, without going to the trouble of installing them in a separate partition on a Mac. The Apple ID limitation makes it difficult to do a lot, but as a simple way to try out the Sequoia beta, it may be worth setting up.
If you really need to be able to sign into your Apple ID in your macOS beta, and don’t mind rebooting your Mac whenever you want to use the beta OS, you can alternatively create an APFS volume and install macOS Sequoia beta onto it.
And don’t forget that you can run other operating systems as well. UTM is a great way to run Windows 11 (for free!) on your Mac.
How to run Windows 11 for FREE on a Mac with an M1, M2, or M3 chip
How can I learn more?
For an alternative method of running macOS Sequoia beta on your Mac, check out our related article on how to create an APFS volume to run macOS.
 Each week on the Intego Mac Podcast, Intego’s Mac security experts discuss the latest Apple news, security and privacy stories, and offer practical advice on getting the most out of your Apple devices. Be sure to follow the podcast to make sure you don’t miss any episodes.
You can also subscribe to our e-mail newsletter and keep an eye here on The Mac Security Blog for the latest Apple security and privacy news. And don’t forget to follow Intego on your favorite social media channels: ![]()
![]()
![]()
![]()
![]()
![]()
![]()