How to securely dispose of old hard drives and SSDs
Posted on
by
Kirk McElhearn

You use hard drives or SSDs in your Macs, and hopefully you also use some drives to back up your data. Over time, some drives go bad, and others get too small, so you replace them. You may be able to repurpose old drives, but in some cases they’ve lived a good life and it’s time to consign them to the bit bucket.
But you can’t just throw away a hard drive or drop it off at a recycling center. These drives may contain personal data, and you need to deal with them carefully to ensure that no one can recover your information. Here’s how.
When to upgrade drives
You should have a backup of your Mac and of all its data. Ideally, you use a combination of Apple’s Time Machine and Intego Personal Backup to ensure that all your data is backed up securely, and redundantly. (Two backups are better than one.)
Over time, you acquire more data, especially if you have a growing media library, and drives age. That 1 TB drive you bought a few years ago no longer holds all your music and movies, so you need to get a larger drive. In some cases, you can still use that older drive for other backups, but as time goes by, and you upgrade every few years, you’ll have a collection of drives of varying sizes that aren’t really worth keeping.
I’m pretty careful about my data and my backups, and I tend to replace my drives every three years or so. Statistics show that the failure rate for hard drives increases substantially around that time, and it’s often around then that I find I need more storage anyway. Your usage may vary, but given the low cost of hard drives today, and the need to ensure that you don’t lose data, that’s probably a good time to look for replacements.
How to erase drives
Before going any further, you should securely erase your drives. This article tells you how to do this with Disk Utility, and also how to securely erase free space from an SSD from the command line (using the Terminal app), since you can’t securely erase SSDs.
It’s worth noting that if you’ve been using FileVault, or encrypted your drives with your Mac, then you probably don’t have to worry about erasing them. As long as the passcode required is complex enough that no one can figure it out, then you may feel comfortable with just taking the drives to a recycling center. However, if you are still worried, or haven’t encrypted the drives, or if you’re not sure and they don’t work, then you should take them apart.
How to disassemble hard drives
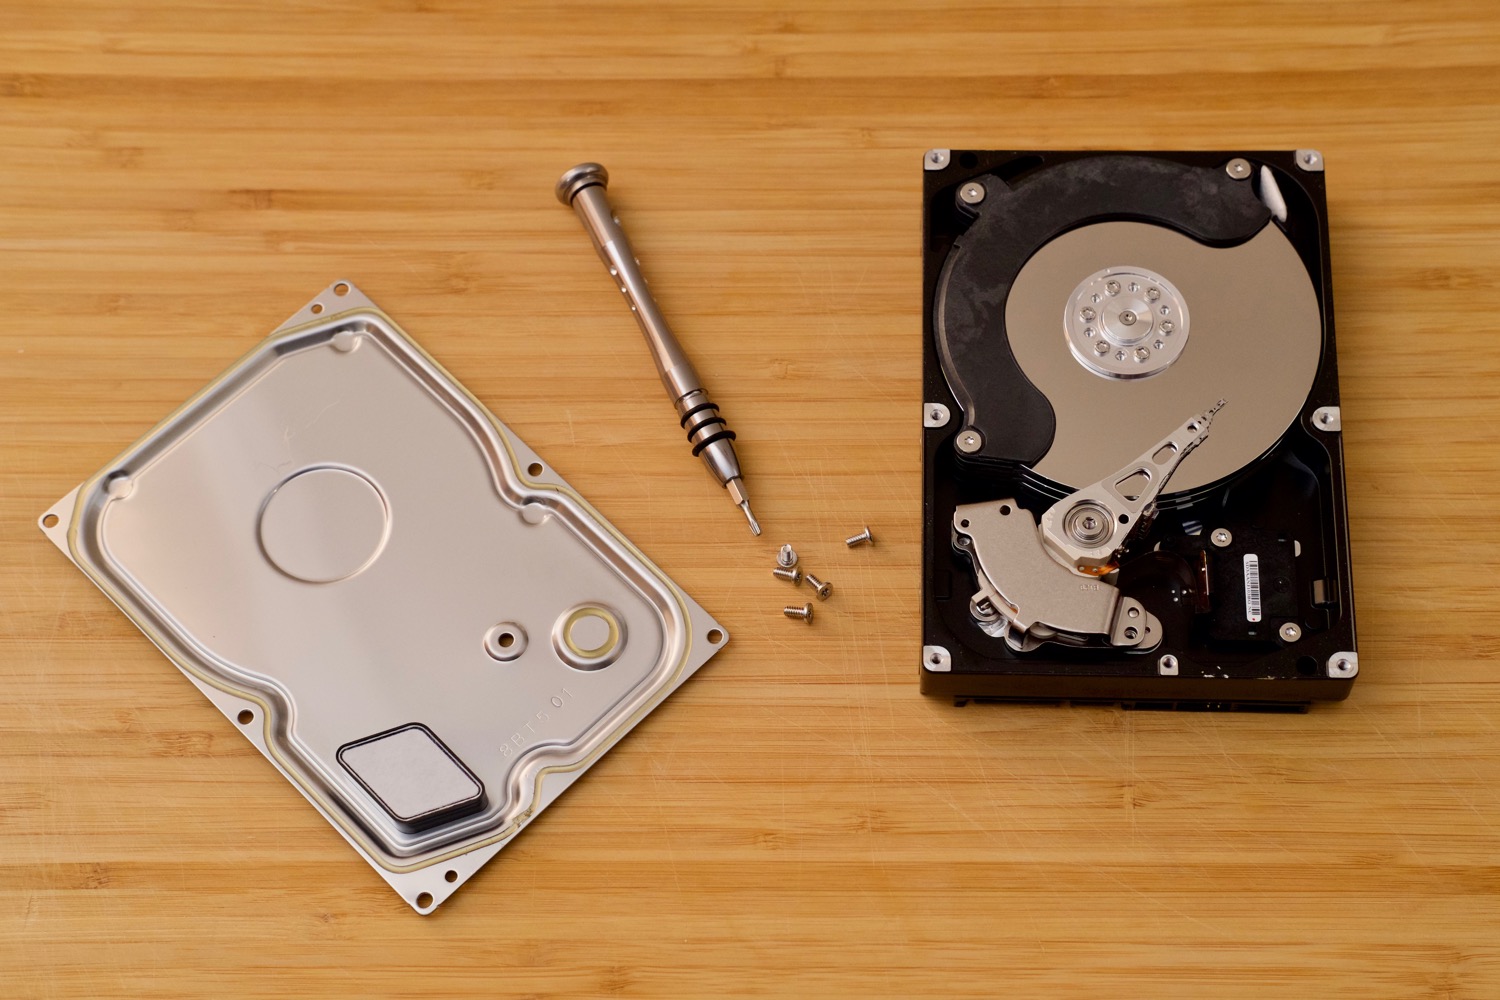
When you’ve got a bunch of old hard drives you want to get rid of, it’s time to get out some tools and get to work. You’ll need a number of obscure screwdrivers, so it’s best to buy a set of computer tools. I use a tool kit from iFixit, and I’ve never encountered a screw for which it doesn’t have a head.
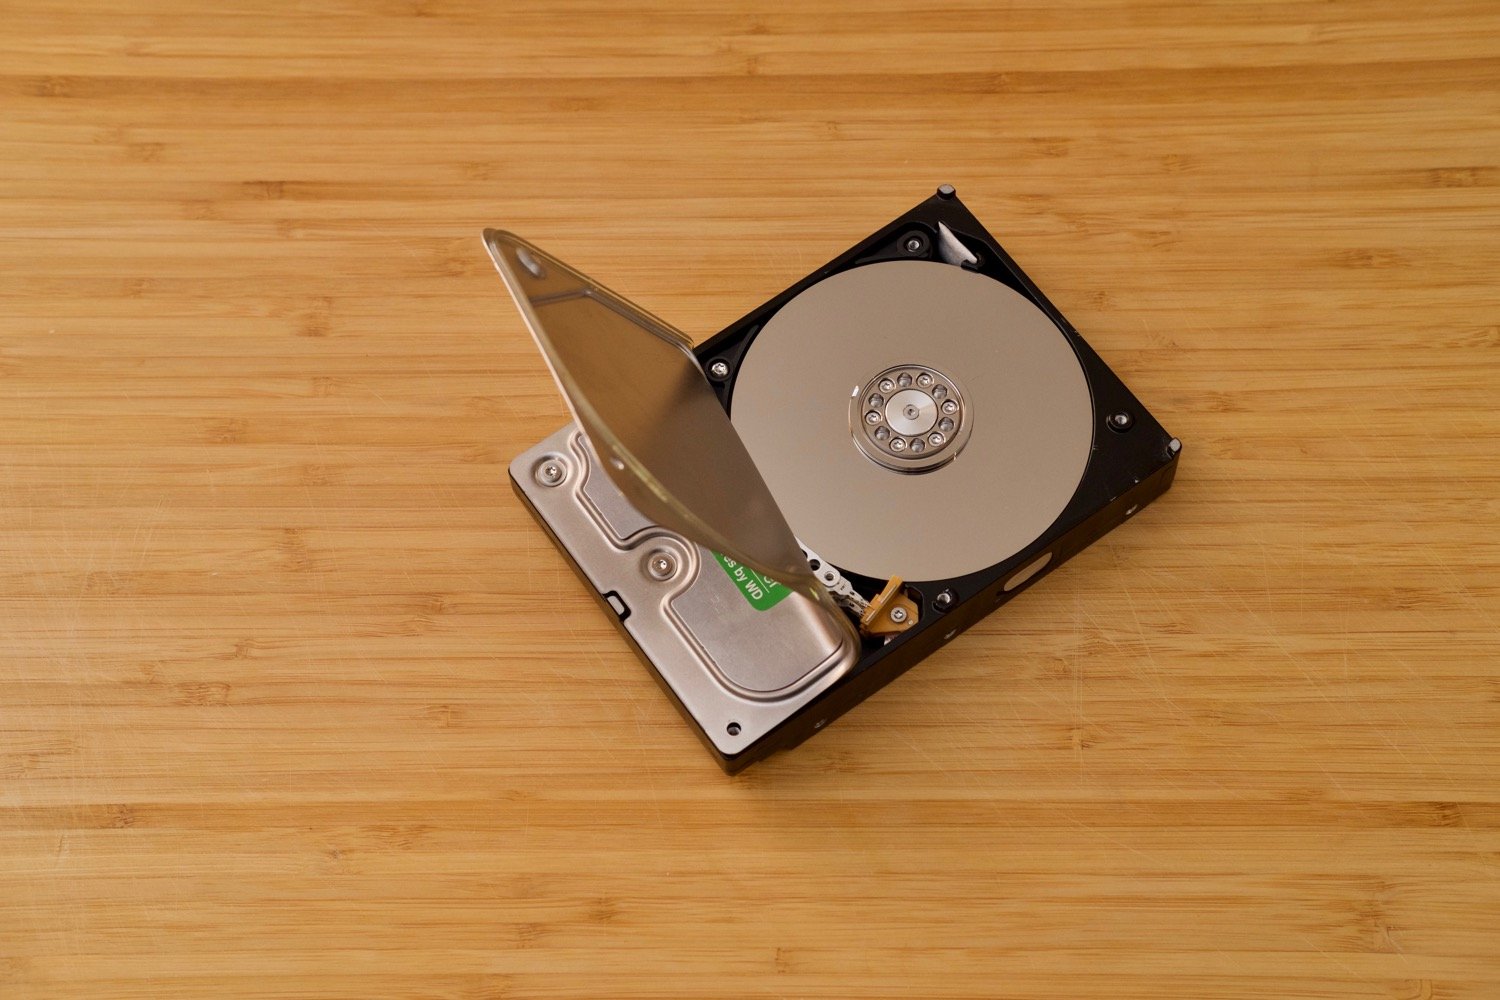
Start by unscrewing every screw you can find, especially on the aluminum cover of the disk. Some drives have a number of different types of screws, and others use all the same type. You may find that some screws are stuck, and you may need to resort to some other tools to separate parts of the disk. (Keep a good pair of pliers and a sturdy flat-head screwdriver handy.) Here’s one drive I took apart where I couldn’t get all the screws off the cover, so I had to bend it with pliers:

Depending on the size of the drives, and their ages, the platters will be different. I recently destroyed some 2.5″ hard drives, and the platters were made of glass. For these drives, you can just shatter the platters. Be careful, the glass can be very sharp, so goggles and gloves are recommended.
3.5″ hard drive platters are made of aluminum, with several coatings of different materials. For these platters, there are a number of ways to ensure that data cannot be recovered. Depending on your tools, you could:
- soak them in acid
- scratch them all over with a screwdriver
- sandblast them
- deface them with a multi-tool (a grinding head)
- demagnetize them with a very strong magnet
- use one of the other suggestions in this article
Plan ahead
It’s best to plan ahead and use full-disk encryption for all your drives so you don’t have to worry about your data being accessible when you need to get rid of them. Securely erasing the drives is a good idea, and as a last resort, disassembling them and destroying the platters makes a good weekend project.
Related: How to Enable FileVault Full-Disk Encryption On Your Mac
How can I learn more?
 Each week on the Intego Mac Podcast, Intego’s Mac security experts discuss the latest Apple news, security and privacy stories, and offer practical advice on getting the most out of your Apple devices. Be sure to follow the podcast to make sure you don’t miss any episodes.
We discussed securely disposing of hard drives and more in episode 71 of the Intego Mac Podcast.
You can also subscribe to our e-mail newsletter and keep an eye here on Mac Security Blog for the latest Apple security and privacy news. And don’t forget to follow Intego on your favorite social media channels: Facebook, Instagram, Twitter, and YouTube.