Manage and Secure Notifications on Your iPhone, iPad, and Mac
Posted on
by
Kirk McElhearn

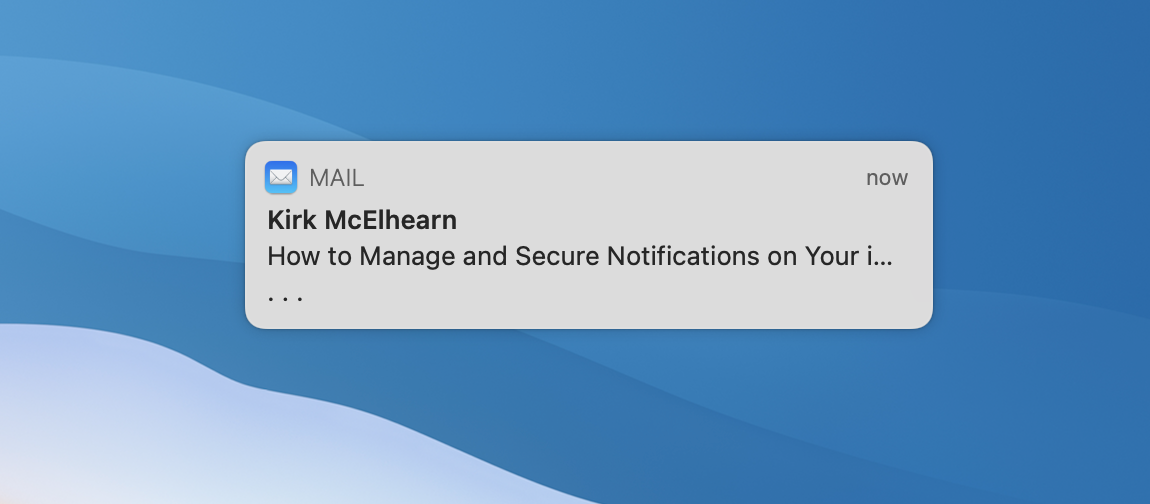
In general, our computing devices are passive. They perform tasks for us when we click buttons or enter some text, but otherwise they just wait for our commands. With the rise of mobile devices, "push" notifications became a way for our devices to alert us when certain things happen. We can get notified when we get text messages, phone calls, or emails, and we can have our favorite apps display notifications of the latest news, stock prices, and sports scores.
But it’s very easy for these notifications to overwhelm us. If you allow notifications on your iPhone from every app you use, you may spend more time checking your notifications than getting things done. While some notifications can be very important – phone calls and text messages, for example – too many notifications is bad for our sanity.
One problem is that you can get notification overload: you get so many notifications that it’s hard to keep up, and you eventually ignore them because you’re just too busy. Another issue is that if your notifications display sensitive information on your device when it is locked, anyone can see them. And finally, website notifications, the browser on your Mac, can be a security risk, as they can be hijacked to try to scam you.
In this article, I’m going to explain how you can control notifications on iOS, iPadOS, and macOS. I’ll show you how to do this so you only get the most important notifications, and I’ll also explain the settings to apply to keep your notifications secure.
Pruning notifications
When you install a new app on an iPhone, iPad, or Mac, if that app is able to display notifications it will ask you to allow it to do so. When we are in a hurry, we may instinctively click or tap on the buttons to get things done quickly without paying attention. But it’s a good idea to think carefully before you allow apps to display notifications.
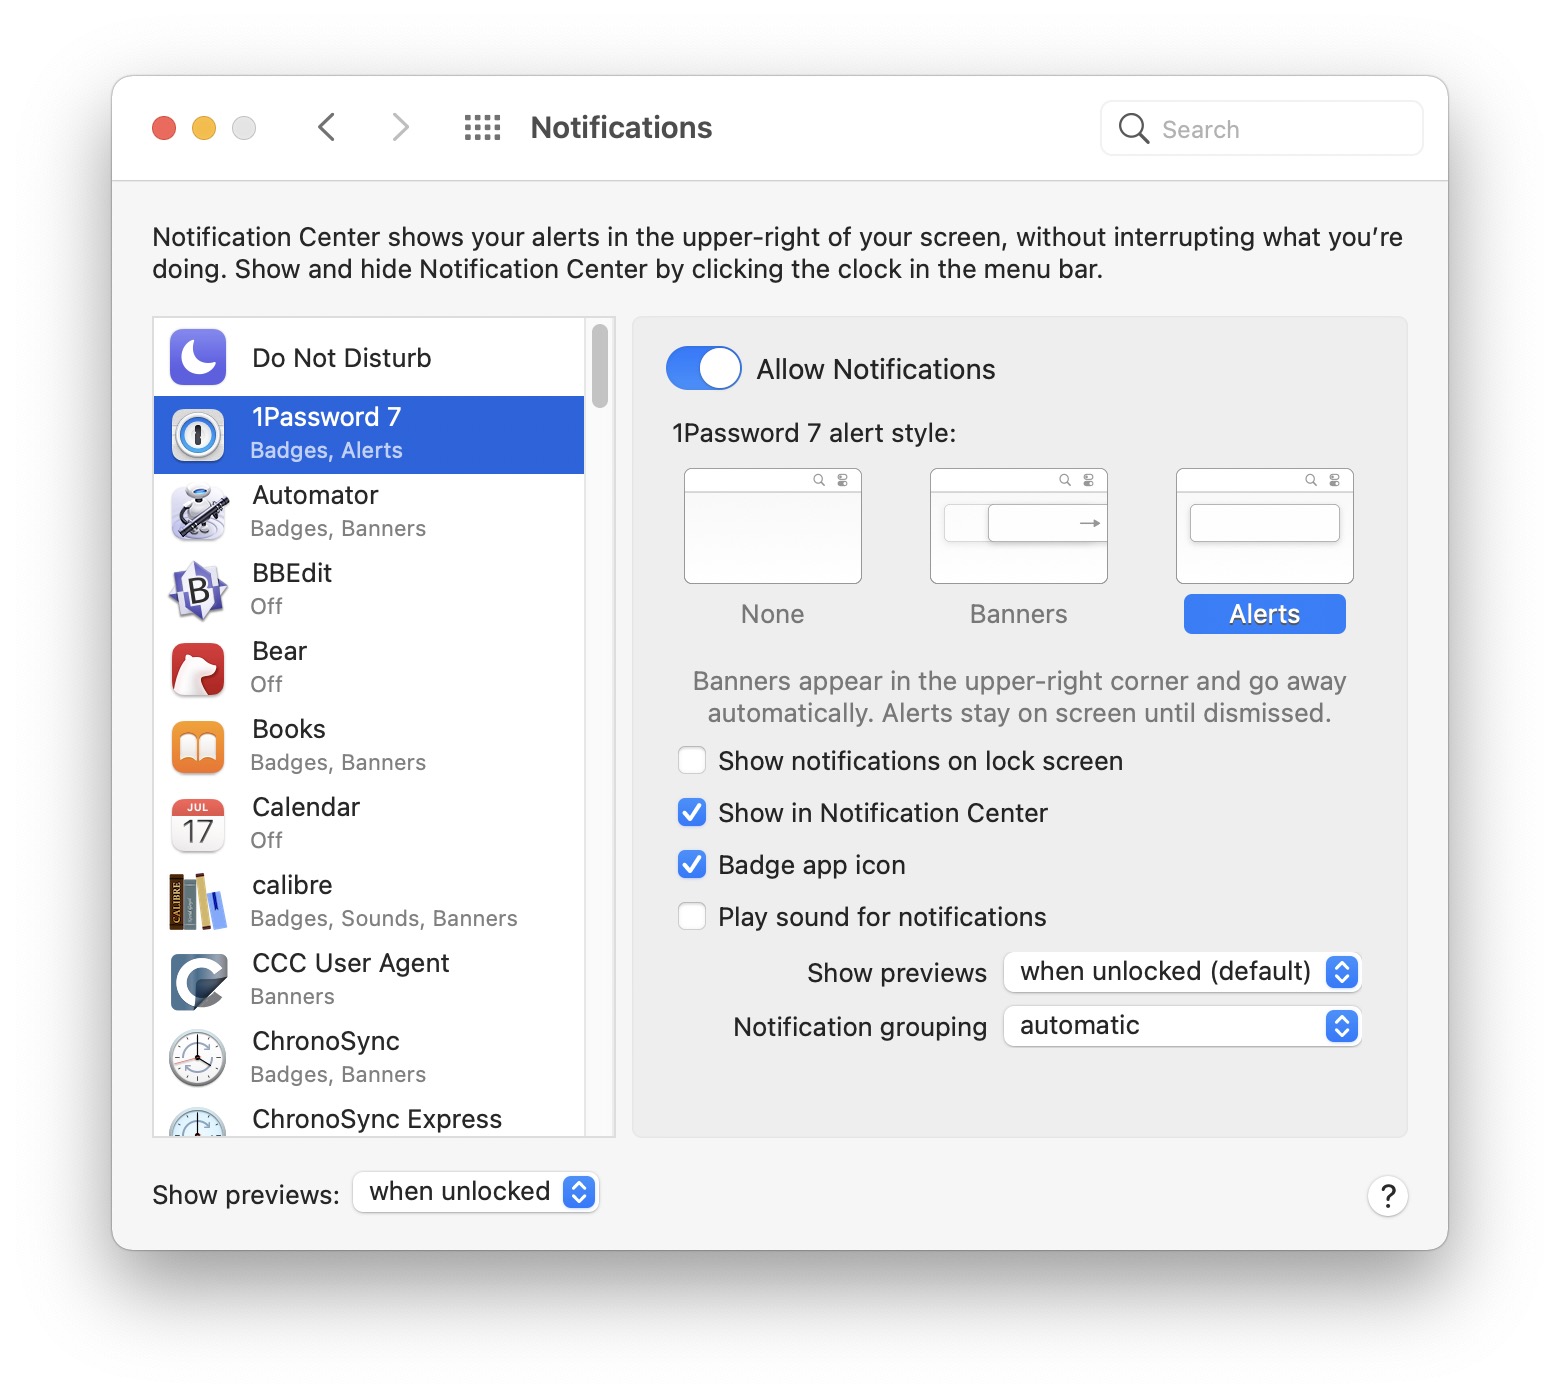
It’s a good idea to go into the notification settings on your devices and check which apps are allowed to display notifications. On a Mac, go to System Preferences > Notifications.

Each app on your device that can display notifications is listed here; click one to see its options. In the screenshot above, you see the settings for 1Password. Here are you options:
- Allow Notifications: if you don’t need notifications from an app, toggle this off. You should perform a notifications audit from time to time, and turn off all the apps that you allowed whose notifications you really don’t need. iPassword uses notifications to alert you to app updates, and otherwise isn’t intrusive, but some apps want to notify you often.
- Alert style: You can choose None, Banners, or Alerts. Banners are temporary, and go away after a few seconds; I use these with the Music app, which displays a notification each time a song changes. Alerts, however, stay on screen until you act on them; I use these for calendar alerts, for example. Use these for important notifications.
- Other options: There are other options, which include whether you want notifications to display on the lock screen, in Notification Center, and whether you want a badge to show on the app’s icon in the dock. On a Mac, displaying notifications on the lock screen is likely not a problem, unless other people can access your Mac. On an iPhone or iPad, however, you should think carefully about this. For example, you don’t want text messages to display on the lock screen of your iPhone where anyone could see them if it’s just lying on a desk or table, or even on your Mac where a co-worker looking over your shoulder could read them.
- Play sound for notifications: I find it annoying that, by default, many apps want to play sounds for notifications. I uncheck this for all my apps. However, on an iPhone, you can set notifications to vibrate only, which I find a great way to know when I’ve got a text message or important email from a VIP.
- Show previews: There are three options here: always, when unlocked, and never. At the bottom of the window there is a default setting to choose whether previews display or not, and you can override this for each app. I have mine set to when unlocked so no one can see any sensitive information on the screen when I’m away.
Notifications on an iPhone
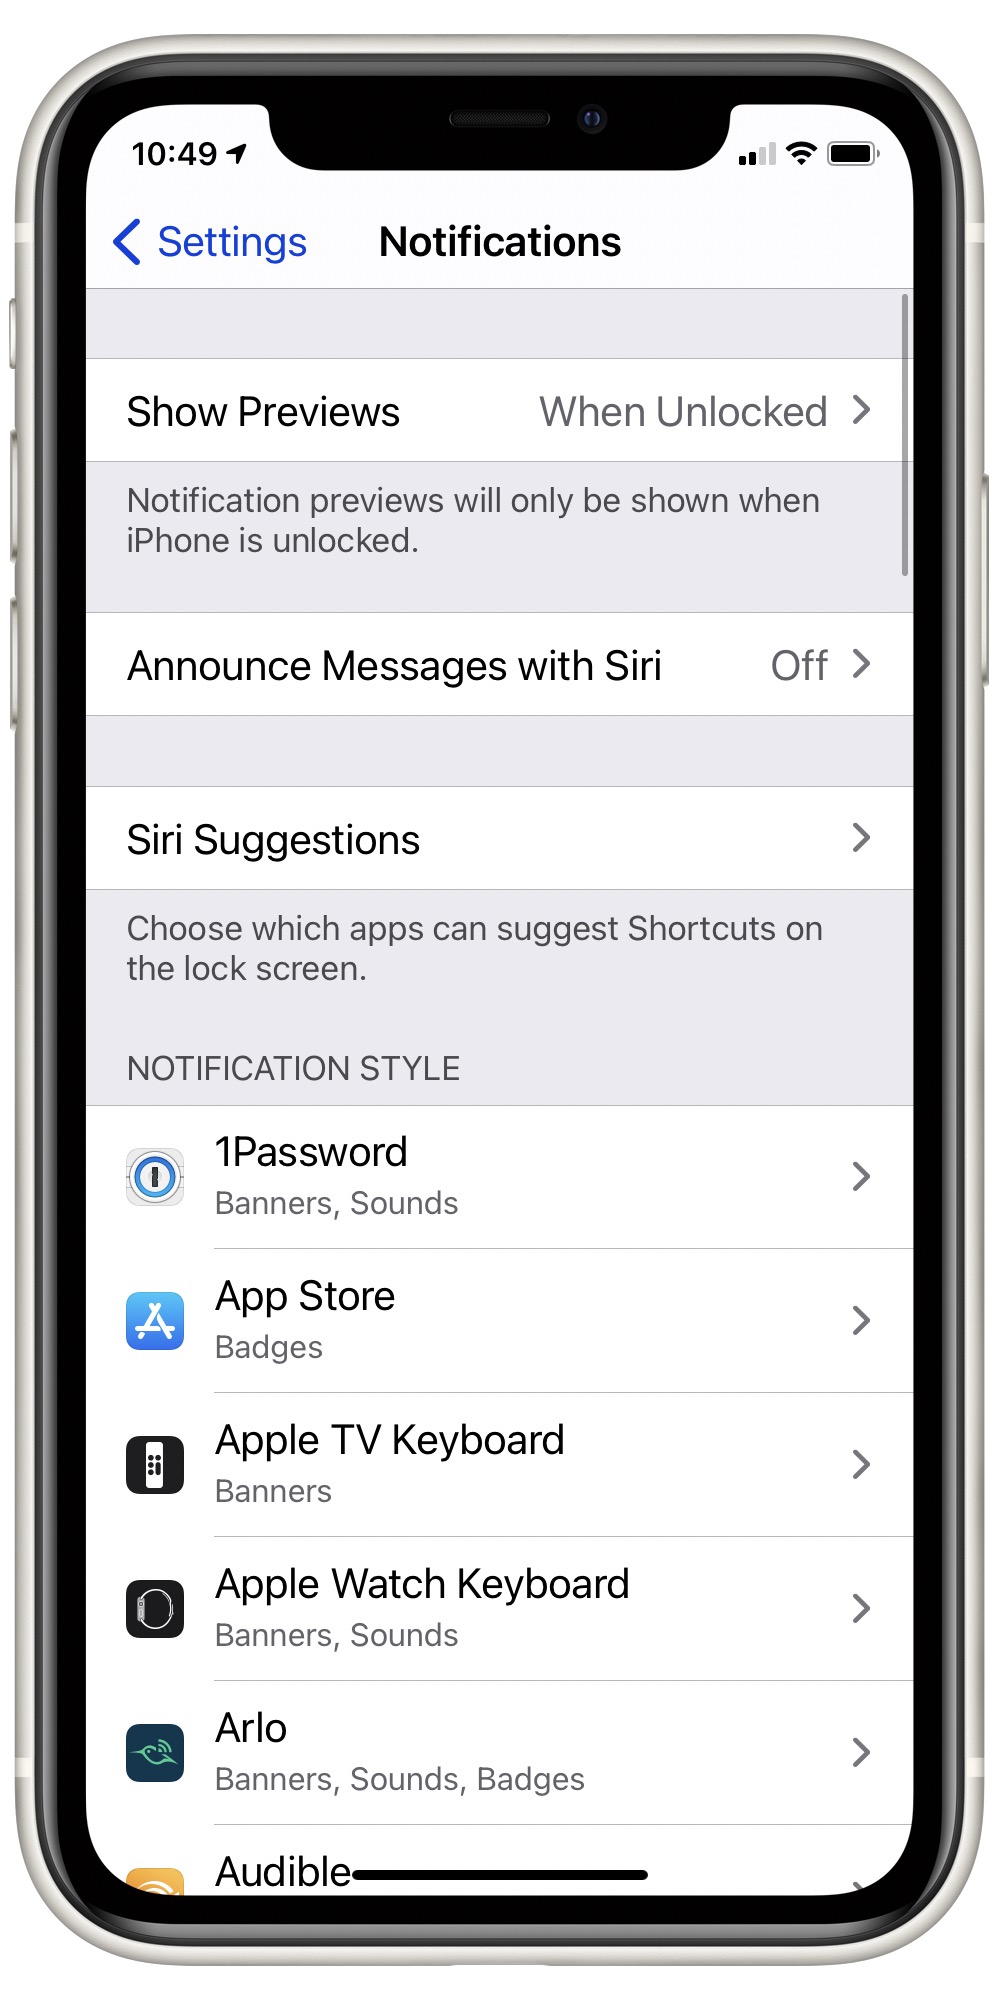
To view notification settings on an iOS or iPadOS device, go to Settings > Notifications; these settings are similar.

As mentioned above, the iPhone offers an option to vibrate instead of playing a sound, and, if you use CarPlay, certain apps can also display notifications on screen in your car.
There is one specific notification setting for Messages on the iPhone. If you go to Settings > Siri & Search > Announce Messages, you can choose to have messages announced when you are wearing headphones. However, this only works with 2nd generation AirPods, AirPods Pro, and some Beats headphones.
Notifications from your web browser
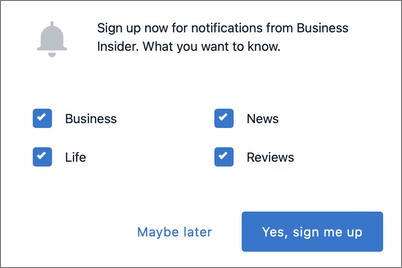
Web browsers can also display notifications from websites. This allows them to let you know when there’s breaking news, for example. You’ll see some websites ask if you want to receive notifications.

These push notifications come from a website, through Safari, and display as regular notifications on your Mac; you don’t need to be viewing the site to get them. The problem with these notifications is that they are increasingly used to display ads, and can even be dangerous, used for click fraud and potentially for phishing.
In Safari, go to Website > Notifications to see which sites have been allowed or denied. If you don’t ever want this sort of notification, the easiest thing to do is to uncheck the option at the bottom of the window: Allow websites to ask for permission to send notifications.
Notifications are useful, but they can overwhelm us, and disclose sensitive information to others. A simple notification audit can help you ensure that your notifications are efficient and secure.