How and why you should backup Macs to the cloud
Posted on
by
Craig Grannell
 Backing up your Mac is vital. Any data that you don’t have multiple copies of is vulnerable to loss or corruption. From cherished photos of your children to essential work documents, any digital information can abruptly vanish in the event of hardware failure or theft. It pays to be prepared.
![]() Apple makes it easy to safeguard your data. Time Machine is built into every Mac – just plug in an external hard drive ($50 will buy a small, almost silent, portable 1TB one), confirm when macOS asks if you want to use it for Time Machine, and your data will start getting backed up.
Apple makes it easy to safeguard your data. Time Machine is built into every Mac – just plug in an external hard drive ($50 will buy a small, almost silent, portable 1TB one), confirm when macOS asks if you want to use it for Time Machine, and your data will start getting backed up.
Intego’s Personal Backup – part of the Mac Premium Bundle – takes things further, enabling you to clone a drive so you have a bootable backup, make selective backups, and gain more control over scheduling. We have an article comparing the two backup tools: Personal Backup and Time Machine.
But whichever local backup system(s) you use, it’s not enough. After all, if a computer is stolen, drives attached to it will probably be stolen as well; and fires aren’t terribly selective about what they burn. To fully protect your data, you should also backup to the cloud.
Cloud backups explained
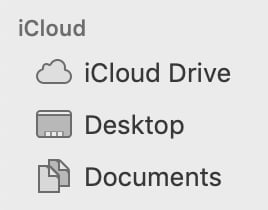 Do not conflate cloud storage and cloud backup. Apple’s iCloud Drive – and similar services like Dropbox and Google Drive – sync data between devices, keeping copies of your documents in the cloud. But they are not backup services, and they generally only house a relatively small subset of your data.
iCloud Drive, for example, holds data specifically saved to it via macOS and iOS apps. Optionally, you can also sync your Desktop and Documents folders to iCloud, and you might store photos there as well, via Apple’s Photos app. Dropbox, meanwhile, syncs only what is placed in the Dropbox folder. By contrast, full backup systems save anything you deem important – wherever it happens to be stored on your Mac.
Various cloud backup options exist: Backblaze; Carbonite; iDrive; SugarSync; Crashplan; and more. For a monthly fee, they will store your files on their cloud servers, which you can subsequently restore if you’ve lost data. Generally, these services also hold older versions of files for a limited time as well; and some offer mobile apps for accessing data from an iPhone or iPad.
Get started with Backblaze
Each cloud backup service has a unique feature set – and limitations – so compare your needs against what they offer. Backblaze is a good option for newcomers. It has unlimited storage, and no file-size limits. Setting things up merely requires you head to the Backblaze website, create a new account, download the installer, and follow the instructions. You get 15 days for free, after which you’ll pay $6 per month (less if paying for a year or two upfront).
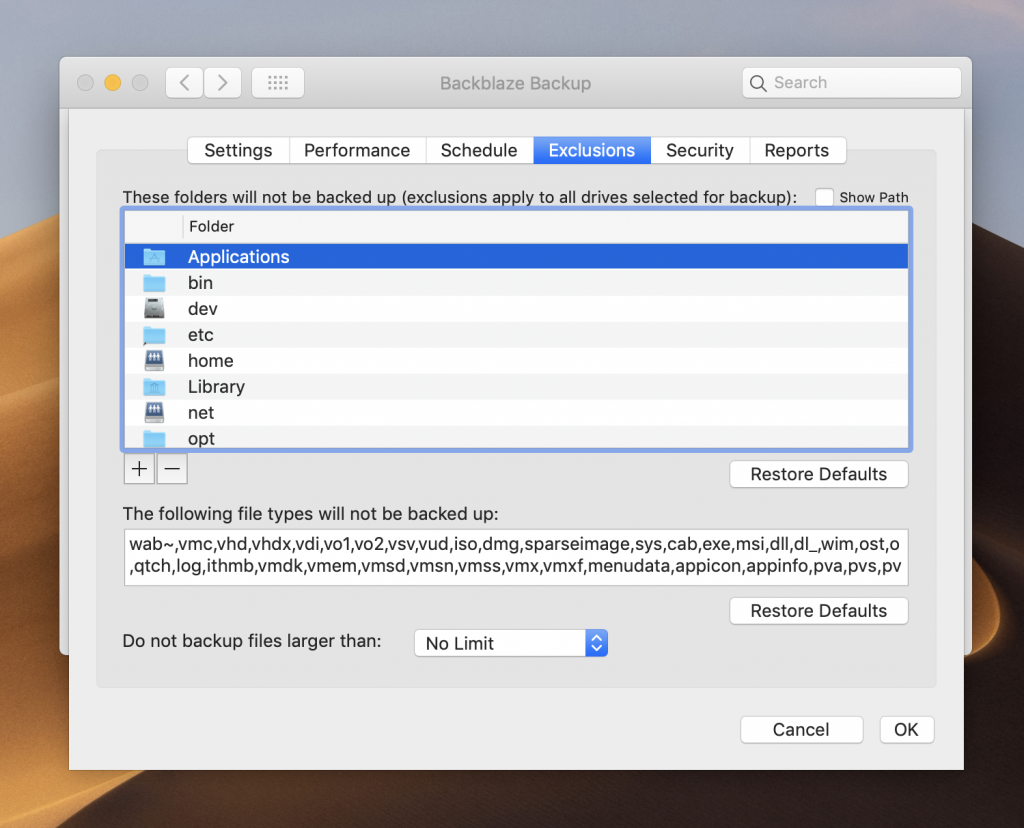
Backup is automatic, and, subsequently, you needn’t do anything, but Backblaze’s settings can be tweaked if you like. Head to System Preferences, click Backblaze Backup, and click Settings. There are many options within, but these are the most important:
- In the Settings tab, you can opt to back up attached hard drives, along with the drive inside your Mac. Avoid backing up external backup drives, unless the data they contain is unique.
- Under Performance, you can see how much data per day is backed up, and exclude backups when your Mac is using specific WiFi networks.
- With Schedule, you can choose to back up once daily, or entirely manually, rather than continuously. The only reason to change this setting is to temporarily pause Backblaze when on a limited data plan (at which point, use Only when I click – and make a Calendar reminder to switch back later).
- Exclusions defines folders and file types that aren’t backed up. By default, Backblaze backs up your user folder, except for installers. But you can, say, add the Applications folder or DMG files. The Restore Defaults buttons revert settings to factory conditions.
Restore data using Backblaze
Should you need to restore data, sign into your Backblaze account in a browser, and click View/Restore Files. With Download (Free) selected, scroll down, and you’ll see menus that outline which computer is selected, and which backup. Adjust the date if you want to restore an older version of a file or folder.
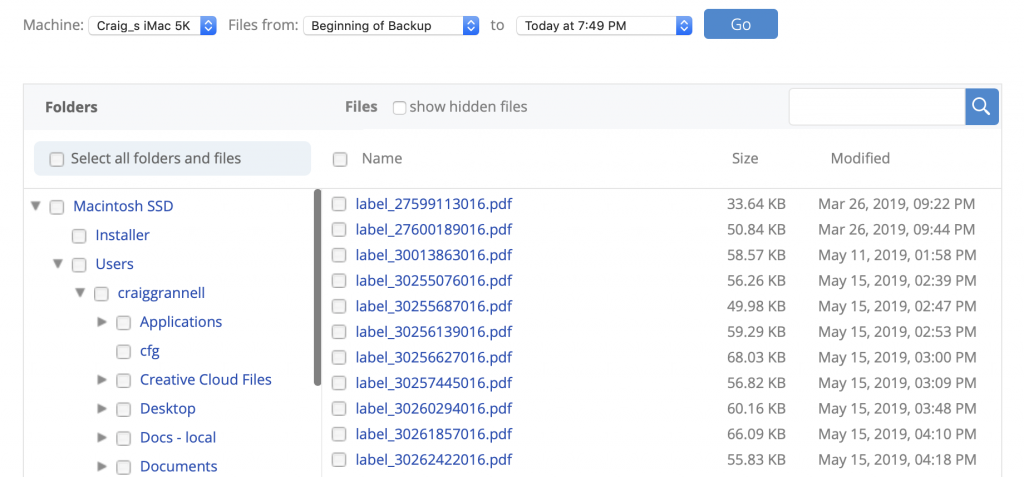
Use the column on the left to navigate your backup’s file structure. (File lists may take a while to appear.) Use checkboxes to make a selection, then click Continue with Restore. The restore will be prepared, which can take minutes or even hours. You’ll receive an email when it’s ready.
Under My Restores, click the relevant Download link to download your restored documents. Restores remain available for seven days. Click Download Backblaze Downloader to use that app if you’re making a very large restore.

For full restores, you can also opt to receive your files on a USB Flash Drive ($99; up to 256GB) or hard drive ($189; up to 8TB). You can keep the hardware or return it within 30 days for a refund. Users outside of the USA should be mindful of taxes, customs fees, and return shipping costs.
Things to beware of with cloud backups
Any backup you make to the cloud is dependent on the speed of your internet connection. It may take days – or even weeks – to complete the initial upload; after that point, though, backups should be much faster, because only new or changed data will be uploaded.
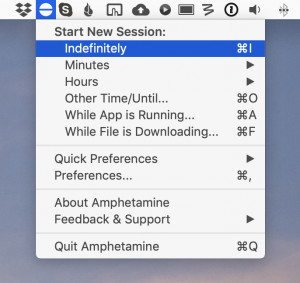 During the initial upload, consider keeping your Mac awake when you’re not using it – especially overnight. The free Amphetamine app will stop it sleeping; use Energy Saver in System Preferences to sleep just the display during such periods.
Since it may take a very long time for your cloud backup to be completed also highlights that it should not be considered a replacement for other options, but an addition. If you were to stop using Time Machine or Personal Backup before your cloud backup was complete, and something happened to your Mac, you’d be left with incomplete and/or old backups.
In short, then, the more backups you make, the safer your data is; the more types of backup system you use, the more secure still your files and folders become. So use the cloud and local options for best results.