5 ways to make your Mac more energy efficient
Posted on
by
Jay Vrijenhoek
 April 22 is Earth Day! ? Fun fact: each year Apple retail stores color the Apple logo’s leaf green in celebration. Earth Day is all about awareness of our environmental impact, and as the saying goes, it starts with you. Today is a great day to learn how to better care for the environment—and, as a side effect of increased energy efficiency, you may even save money in the process.
By tweaking your Mac’s settings, and perhaps fine-tuning some of your hardware, you can run a more energy-efficient system and do your bit for Earth Day (and every day thereafter).
Review your energy saving settings
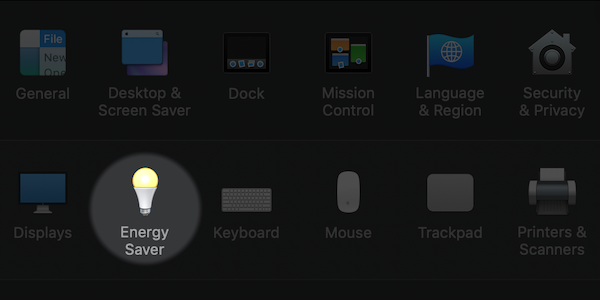
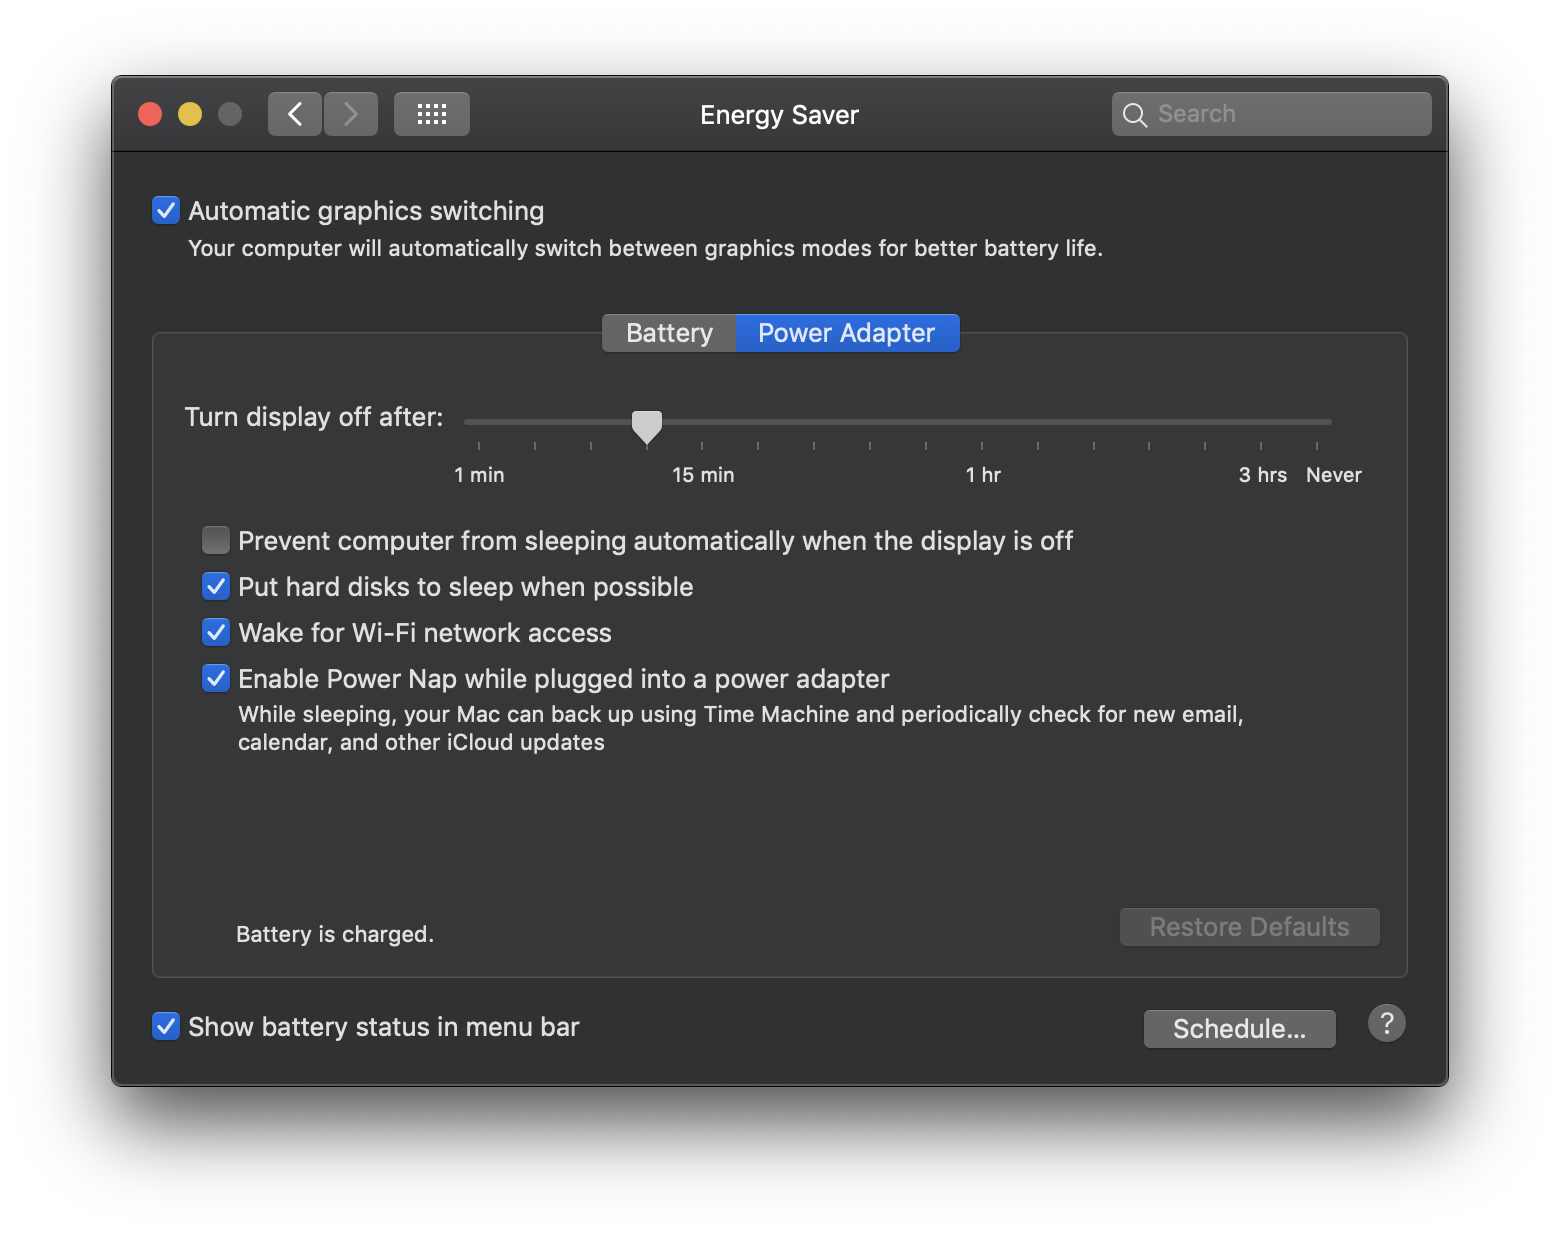
First, have a look in Apple menu > System Preferences… > Energy Saver. Here you can choose settings related to putting your display, hard disks, or your Mac to sleep.

Note that putting a spinning hard drive to sleep when it’s not in use certainly helps preserve energy, but can also cause annoying delays when you ask your Mac to perform a task and it has to wait for the drive to wake up (thankfully, most modern Macs now have solid state drives rather than spinning drives). There is also an argument to be made for motor wear and tear on drives that are constantly going to sleep and waking up again.
How fast your display should go to sleep entirely depends on how you use your Mac. You have to find the sweet spot between saving energy and avoiding being annoyed at having to wait for your screen to wake up.
Also have a look at System Preferences > Desktop & Screensaver > Screensaver. Some screensaver options require a lot more processing power than others, so if you tend to walk away from your Mac often or find the screensaver active for hours when you’re not there to see it anyway, just pick the “Message” screensaver where the entire screen goes black and a message of your choice bounces around. Better yet, if you are not around to see the screensaver, just set the display to go to sleep instead (using the Energy Saver preferences mentioned earlier).
If you choose to use a screensaver, be aware that some third-party screensavers that may look cool, such as the Matrix running code or the SETI@home screensaver, may also use a lot of juice. Of course, screensavers do still serve a purpose (beyond the original intention to reduce screen burn-in, which was a much bigger problem for classic CRT monitors); for example, you can use a hot corner to activate a password-protected screensaver to lock down your Mac in an instant. For more on that, have a look here.
Implement energy-saving schedules
In the earlier mentioned System Preferences > Energy Saver settings you can see a button that says Schedule. Using the schedule settings, you can power up, shut down, or sleep your Mac at set times. If you don’t use your Mac after dinner, you can set it to shut down at 8pm and start up again before you get to your desk the next day at 8am, for example. Schedules can be set for weekdays, weekends, every day or individual days.
![]() You may also want to put your backups on a schedule. Time Machine automatically runs every hour all day long, but this also requires your external drive, Time Capsule, or server to spin up every time to receive the backup data. Do you really need backups running while you’re out of the office, or sleeping? Perhaps not.
You may also want to put your backups on a schedule. Time Machine automatically runs every hour all day long, but this also requires your external drive, Time Capsule, or server to spin up every time to receive the backup data. Do you really need backups running while you’re out of the office, or sleeping? Perhaps not.
A very nifty utility I have been using for years is TimeMachineEditor, and I use it for every Mac that has Time Machine active. I even implement it on my clients’ Macs. Some people don’t have important files that change every hour but still want a regular snapshot just in case. They can set the backup schedule to once every 6 hours, or at a set time during the day. For a lot of clients, especially those where there are a lot of people in an office, I stagger backup schedules for different departments or users so that the servers are not hammered when every Mac in the office starts backing up at roughly the same time. TimeMachineEditor is a very useful app for this.
Intego’s own Personal Backup also has scheduling features where synchronizations, backups, or clones can all be set to run at specific intervals, and it has a lot of other great features that make it a powerful replacement for (or supplement to) Time Machine.
Shut things down
Whether you shut down your Mac manually as needed or have it on a schedule, see if you can hook up your Mac, displays, speakers, printer, powered hubs, and other peripherals to a single power strip. Being able to shut everything off from a single power strip when not in use can save some watts.
If you prefer to keep your Mac in sleep rather than shut down, you can at least put everything else on said power strip to shut off only your peripherals, and to stop their trickle power consumption.
Note: A few of the following tips involve the opening of, and sometimes even partial disassembly of, your Mac. If you are not comfortable with doing that, find a friend or shop that is capable and have them do it instead. In some cases, self-repair may void your warranty, so consider taking your Mac to an Apple Store or an Apple-authorized repair shop. If you do decide to open your own Mac or get someone else to do it for you, you do so at your own risk, of course.
Replace spinning HDDs with SSDs
Spinning hard disk drives (HDDs) run hotter and require more power to operate. If you can, swap out your spinner for a solid state drive (SSD), at least for your boot volume. This is easy to do if you have a 2006–2012 Mac Pro, pre-Retina MacBook Pro, or 2006–2010 MacBook, and requires a little bit more work on iMacs and Mac minis but it’s worth the effort. Not only will your Mac run cooler and more efficiently, but it will also get a significant speed bump!
If you do use your internal hard drive for a significant amount of data storage and can’t afford a high-capacity SSD, consider replacing your spinning drives with more energy-efficient models. For example, while WD VelociRaptor or Black drives might be nice and fast, do you really need the fastest spinners for data you aren’t accessing all the time? The answer is almost certainly no. Instead, you might consider WD Green drives, which have a variable rotational speed, run cooler and use less energy.
We’re making good progress! But there are a few additional things you can do to not only save on energy consumption, but also to extend the life of your Mac as well. We’ll collectively call these step number five: making your Mac run cooler.
Make your Mac run cooler
A Mac that runs hotter uses more energy. Hard drives that run hotter have a lower lifespan. Heat causes fans to spin faster to cool the Mac and its components down, and faster fans means increased energy consumption (not to mention annoying fan noise). And we’re not even getting in to the enhanced effects of electromigration as heat increases! In short, a cooler running Mac is a happier Mac, and better for the environment.
So how does one go about having a cooler running Mac? Glad you asked!
Clean out the dust
One of the best things you can do for your Mac is keep out the dust. Unfortunately that is easier said than done. If a Mac has one or more fans, it will suck dust particles into the case that will accumulate over time. Even the Mac mini, which technically has no air intake, will suck in dust through the various ports and gaps in the bottom cover. When dust accumulates, it hinders airflow and the Mac will run hotter as a result.
Apple generally does not make it easy for customers to open their own Macs, with a notable exception being the Mac Pro. Proprietary screw designs are just one of the ways Apple attempts to keep you from accessing the internals of the Mac that you paid for. Luckily, the right screwdrivers can easily be obtained from places such as iFixit, and using the same company’s repair guides, you can be staring at your Mac’s innards in a matter of minutes.
Follow iFixit’s Mac take-apart guide for your model, and keep track of any screws and parts you take out. Once you’re in, cleaning out the dust can be as simple as some well placed blasts of compressed air and some gentle cleaning of the fans with a soft brush. When you put it all back together, just follow the same guide but in reverse order.
Cleaning the dust out of your Mac is not a one-time event. If you use your Mac in a particularly dusty environment, your Mac may benefit from regular cleanings. Don’t forget there are companies and friends that can probably do this work for you.
Give it some fresh paste
Your Mac’s main processor (CPU) and graphics processor (GPU) are typically covered by a heat sink that draws heat away from the chips. Underneath that heat sink is thermal paste. Its sole purpose is to bridge the gap between the minuscule and even microscopic scratches, gaps, and dents in the copper of the heat sink and the die of your chip. While they may look smooth and shiny, they’re far from perfectly smooth. Thermal paste fills in those microscopic gaps and gives the heat from the chip a direct path to the heat sink.
When a subpar thermal paste is used, or if the paste does not cover all of the chip area, or when the paste dries out over time, the chips cannot transfer their heat to the heat sink as effectively. When this happens the chips run hotter, the Mac uses more energy, and you may even experience reduced performance due to thermal throttling.
(Each chip has a point where performance is throttled if the temperature becomes too high. The values vary per chip, but typically 80–100°C is the maximum for a CPU before it lowers its own clock speed—throttles—in order to cool itself down. If the heat gets too extreme, to the point where even the Mac’s increased fan speeds and CPU throttling aren’t enough, your Mac may suddenly shut down as a failsafe to prevent permanent damage.)
I would argue that the stock thermal paste Apple uses and the way it is applied are substandard given the Mac’s price tag, so re-applying the thermal paste is something I recommend to every Mac user regardless of the Mac’s age. You can’t go wrong with Arctic Silver 5, but if you want the best, you might as well spend a few more dollars and choose Thermal Grizzly Kryonaut. A thin layer that covers the entire chip die is all you need. Your chips will run cooler and your Mac will use less energy as a result.
Upgrade your external display
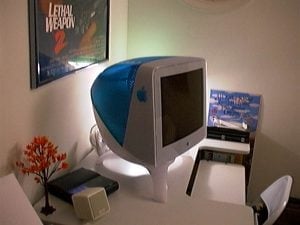
 Here’s a bonus tip for good measure. Remember those CRT monitors we mentioned earlier? If you’re someone who still uses one, it’s probably time to let go. No matter how much you may still like CRT screens, replacing them with modern LCDs (liquid crystal displays) will help tremendously to save energy—and as a side benefit, you’ll also gain a lot more desk space.
What else can you do?
I hope you’ve enjoyed getting to know your Mac and its energy efficiency capabilities a little better. Let us know in the comments below what you have done to make your Mac use less power, and have a happy Earth Day!
 Every week, Intego’s experts discuss Apple security on the Intego Mac Podcast, so be sure to subscribe to make sure you don’t miss the latest episode. You’ll also want to subscribe to our e-mail newsletter and keep an eye here on The Mac Security Blog for updates.
You can also follow Intego on your favorite social and media channels: Facebook, Instagram, Twitter, and YouTube (click the ? to get notified about new videos).
Apple Studio Display CRT monitor photo “semi-translucent ‘blueberry’ plastics” by Blake Patterson, licensed under CC BY 2.0 (resized). Time Machine icon logo ©Apple.